How to Build a Fire Pit Area in Your Backyard From Bare Lawn to First Fire
A bare patch of lawn and a fire pit sitting in a box will not give you the evenings you pictured. The pit needs a safe surface under it, room for chairs, and a clear path to walk in with an armful of wood. Learning how to build a fire pit area in your backyard means building the whole setting around the pit, not the pit alone.
This guide walks you through that build in eight steps. You will pick a spot that meets local rules, mark out a circle, strip the grass, lay edging and gravel, set the pit, and arrange seating so everyone can see the flames and feel the heat. Most people finish in one weekend with basic tools and a load of gravel.
Expect a full day of digging and hauling if you work alone, and about half that with a helper. The work is physical but not technical. No concrete, no permits for the structure in most towns, and no special skills beyond measuring, leveling, and lifting.
⚠️ Safety first — read before you dig
Open flames can injure people and damage property. Check your town or county rules and any burn bans before you build, and check again before each fire. Keep the pit clear of houses, fences, sheds, trees, and overhead branches.
Never burn treated, painted, or stained wood, plywood, MDF, or household trash. The fumes are toxic. Burn only dry, seasoned firewood, and never leave a fire unattended. Keep a bucket of water or a hose nearby every time you light up.
This guide covers general building steps only. If your town requires a permit or inspection, follow its rules. When in doubt, call your local fire department or a licensed professional.
Total Time
1 weekend
About 6–8 hours of work
Active Time
4–6 hours
Plus gravel delivery wait
Difficulty
Beginner
Physical work, basic tools
What You Need
Materials
- Fire pit (portable ring, bowl, or kit)
- Pea gravel or crushed stone, about 1 cubic yard for a 14-foot circle
- Landscape fabric, one roll
- Steel, stone, or plastic edging, about 45 feet
- Edging stakes or spikes
- Outdoor chairs (4–6) and a small side table
- Optional: patio pavers for a walkway
Tools
- Tape measure (25-foot)
- Two stakes and a 7-foot length of string
- Marking spray paint
- Flat shovel and garden spade
- Wheelbarrow
- Steel rake and hand tamper
- Level (2-foot or 4-foot)
- Work gloves and safety glasses
At a Glance — The 8 Steps
- Check your local rules before you dig
- Pick the spot with clearance on every side
- Measure and mark your fire pit area
- Strip the grass and level the ground
- Set the edging ring in place
- Spread the gravel base
- Place the fire pit and arrange the seating
- Light a test fire and check for problems
Step 1: Check Your Local Rules Before You Dig
Call your town office or fire department and ask three things: whether backyard fire pits are allowed, how far the pit must sit from buildings and fences, and whether a permit is needed. Some towns ban open burning outright, others allow contained pits with a spark screen, and many set a minimum distance. If you live under a homeowners association, check its rules too. Our guide to backyard fire pit legality explains the common rules and where to look them up.
Ask about burn bans as well. Many areas ban outdoor burning on dry or windy days, and some ban it for whole seasons. Write down the distance your town requires and the number to call for burn-ban updates. That number goes on your phone before the shovel comes out.
While you are on the phone, ask whether underground lines run through your yard. A free call to your local utility-marking service gets gas, electric, and water lines marked before you dig. Stripping grass is shallow work, but edging stakes and paver bases go deeper than you expect.
Step 2: Pick the Spot With Clearance on Every Side
Walk your yard with a tape measure and look for a flat patch with open sky above it. The pit needs clear space in all directions: away from the house, the fence, the shed, and any tree with branches hanging overhead. A common rule in many towns is 10 feet from structures for a small contained fire pit, but your town may ask for more, so use the number you got in Step 1.
Flat ground matters more than a pretty view. A slope makes chairs slide, gravel drift, and water pool on one side. Pick the flattest spot you can find, and keep it close to the house so carrying wood and drinks is not a chore. Our fire pit clearance guide walks through the distances for houses, trees, and fences in more detail.
Stand in the spot at dusk and look at the wind. Smoke blows toward whatever sits downwind, so keep the seating upwind of the house doors and windows when you can. If the only flat spot sits in a wind tunnel between two fences, pick a different corner.
Clearance Cheat Sheet
| Keep clear of | What to check |
|---|---|
| House, shed, garage | Your town’s minimum distance — often 10 feet or more |
| Fences and deck rails | Same minimum as structures; embers drift sideways |
| Trees and branches | No branches overhead; keep the canopy well clear |
| Underground lines | Call the marking service before any digging |
| Doors and windows | Seating upwind so smoke stays out of the house |
Distances vary by town and by pit type. Your local rule always wins over any number in a guide.

Step 3: Measure and Mark Your Fire Pit Area
Drive one stake into the ground where the center of the pit will sit. Tie a 7-foot length of string to it, pull the string tight, and walk in a circle while spraying a line of marking paint at the end of the string. That gives you a 14-foot circle, which fits a pit up to 36 inches wide plus chairs with room to pull them back.
A 14-foot circle works for most yards and most pits. If your pit is wider than 40 inches, add a foot to the radius. If your yard is small, a 12-foot circle still works for four chairs, but do not go smaller than that or knees will crowd the fire. Our fire pit sizing guide helps you match the pit to the space and the number of seats.
Spray a second, smaller circle at the center for the pit itself, about 6 inches wider than the pit on each side. This inner mark shows where the pit will sit and where the gravel needs to be deepest. Step back and look at the outline from the house before you dig. Moving paint is free. Moving gravel is not.
Step 4: Strip the Grass and Level the Ground
Cut the grass inside the painted circle with a flat shovel, working in strips about a foot wide. Slide the shovel under the roots at a shallow angle and peel each strip up like a carpet. Stack the sod in a pile for the compost heap or to patch bare spots elsewhere in the lawn. Aim to remove about 2 to 3 inches of soil with the grass so the finished gravel sits near the level of the surrounding lawn.
Rake the bare soil smooth, then check it with a level in several directions. High spots get shaved down with the shovel. Low spots get a scoop of soil and a firm tamp with your foot or a hand tamper. The base does not need to be perfect, but a tilt of more than an inch across the circle will show once the gravel goes in.
🔥 Heads Up: call before you dig
Edging stakes and paver bases go deeper than grass roots. If you skip the utility-marking call, a stake can hit a gas or electric line. The call is free in most areas and the markings usually arrive within a few days, so make it before you start Step 4.
Roll out the landscape fabric over the bare soil and cut it to the circle with a few inches of overlap at the seams. The fabric stops weeds from pushing through the gravel and keeps the stone from sinking into the mud after rain. Pin the edges down with landscape pins or a few heavy stones so it does not shift while you work.
Step 5: Set the Edging Ring in Place
Edging holds the gravel inside the circle and gives the area a finished border. Steel edging looks sharp and lasts for years, stone blocks look natural and need no stakes, and flexible plastic edging costs the least and bends around the curve with ease. Pick whichever suits your yard and your budget.
Follow the painted line and set the edging outside it, then drive the stakes in every 2 to 3 feet. Check the ring from above as you go. A wobbly circle is quick to fix now and a headache later, once a ton of gravel is sitting inside it. If you chose stone blocks, set them on a thin bed of sand and tap each one level with a rubber mallet.
💡 Pro Tip: check the ring with a hose
Lay a garden hose along the painted circle before you buy edging. A hose shows the true curve better than a painted line, and it takes a minute to nudge it into a shape you like. Measure the hose loop and you will know exactly how much edging to buy.
Step 6: Spread the Gravel Base
Order the gravel for delivery if you can. A 14-foot circle at 3 inches deep takes about one cubic yard, which weighs well over a ton. Hauling that in bags from the store takes many trips and costs more. A delivery truck can drop the pile on the driveway, and you wheel it in from there.
Shovel the gravel inside the ring in even loads, then rake it level. Work from the outside toward the center so you do not trap high spots under your feet. Tamp the surface lightly with a hand tamper or by walking over it in flat shoes. The gravel should sit about 1 inch below the top of the edging so stones do not spill onto the lawn.
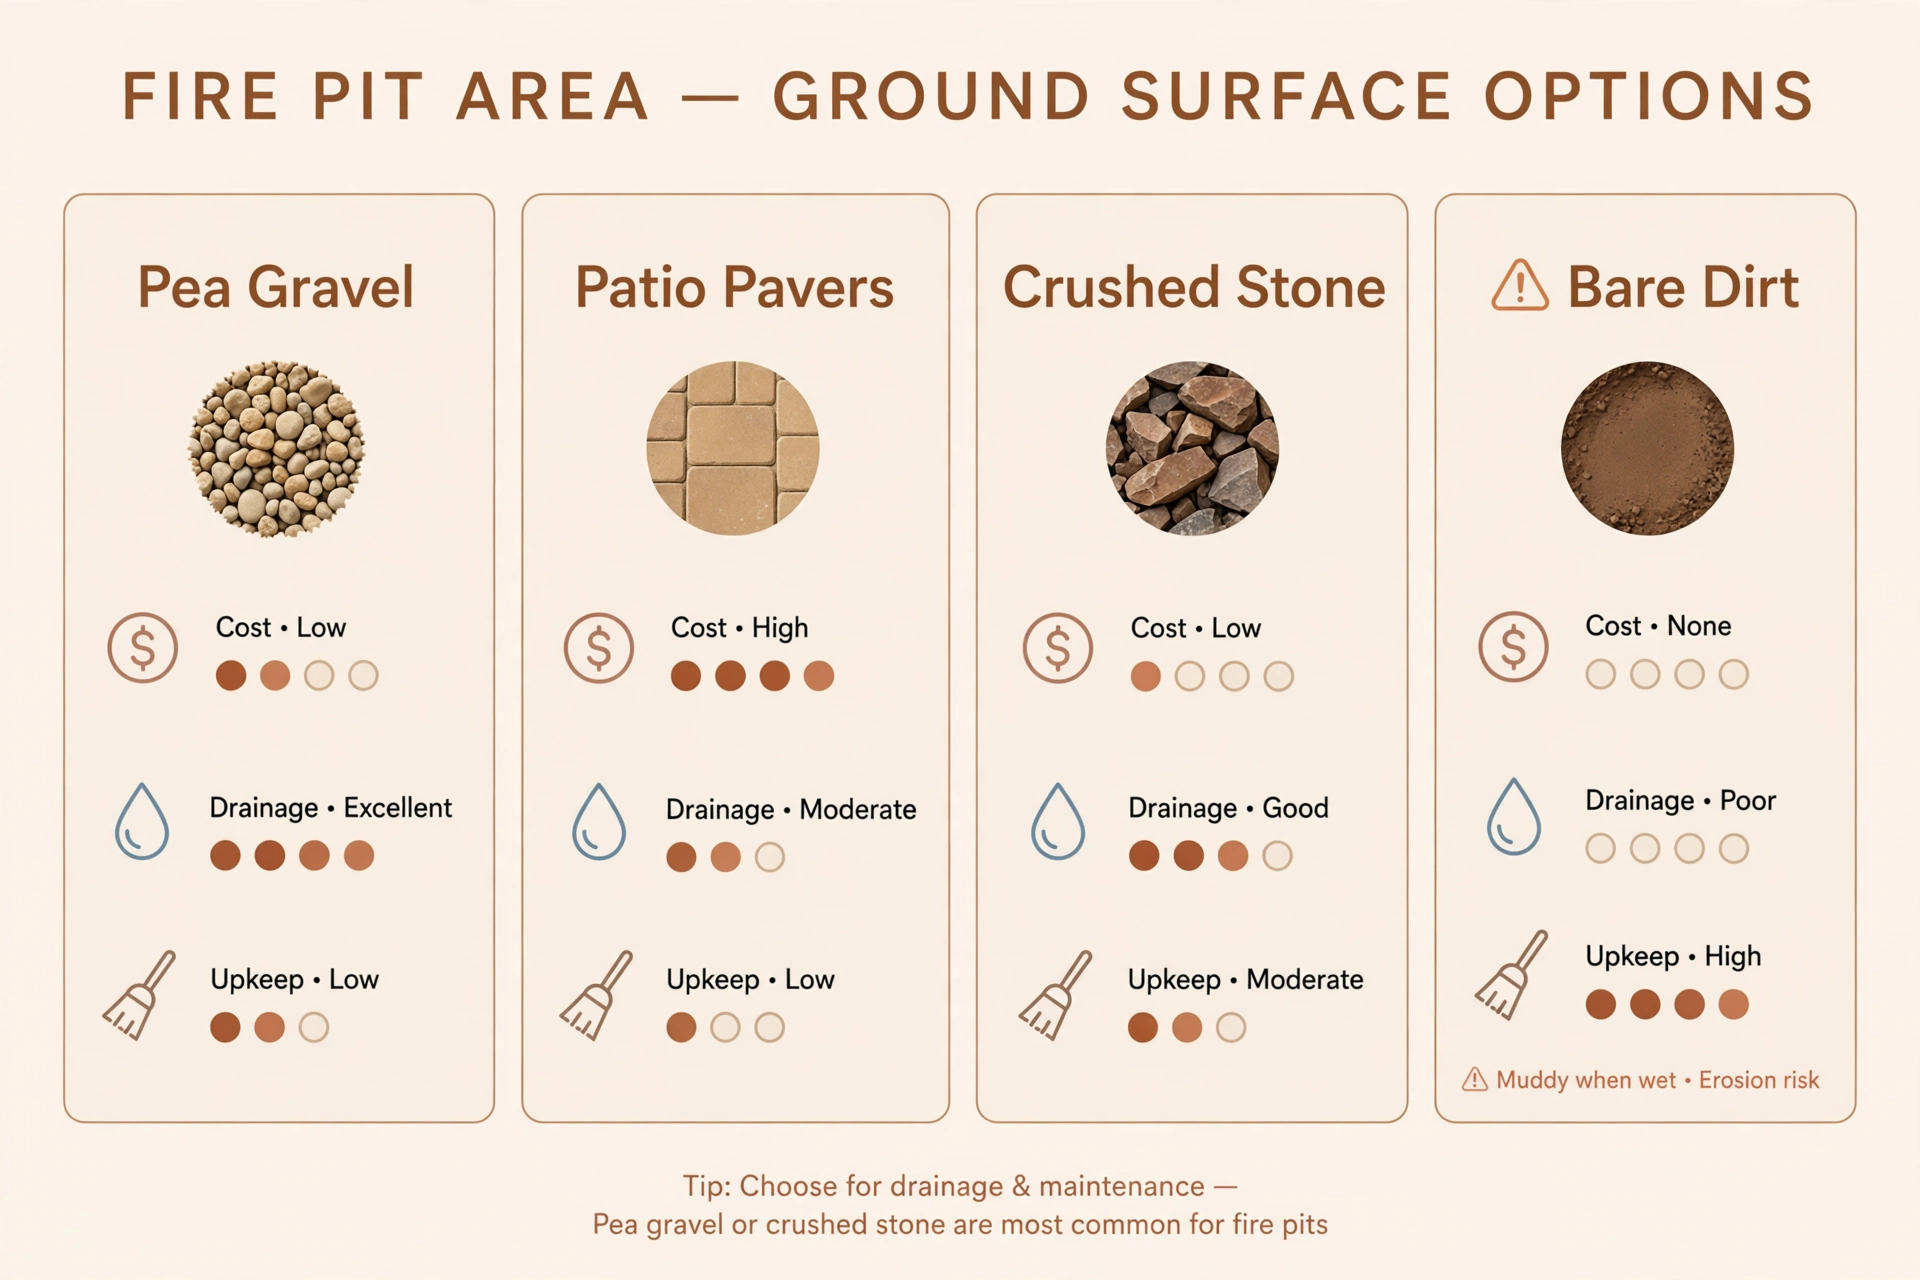
Pea gravel feels soft underfoot and drains well, crushed stone locks together and stays put, and pavers give a flat surface for chairs but cost more and take longer to lay. The image below compares the four most common choices side by side.
Step 7: Place the Fire Pit and Arrange the Seating
Set the fire pit on the center mark and check it with a level. A wood-burning pit can sit directly on the gravel, while a gas pit needs its hose or line routed under the gravel or along the edge where nobody trips on it. If you still need the pit itself, our guide to building a fire pit covers the pit construction step by step.
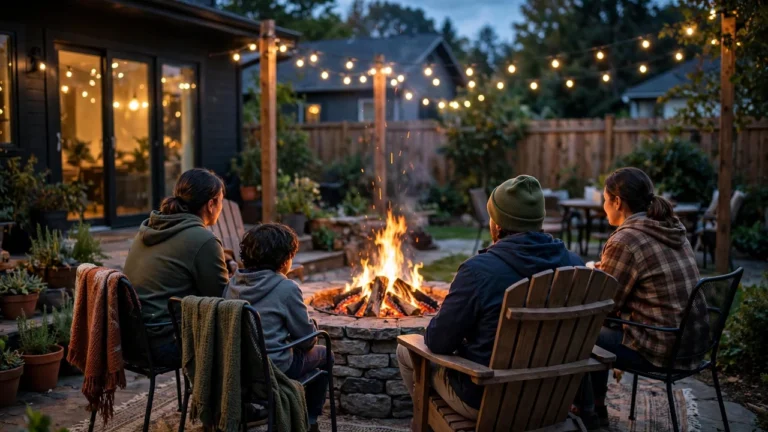
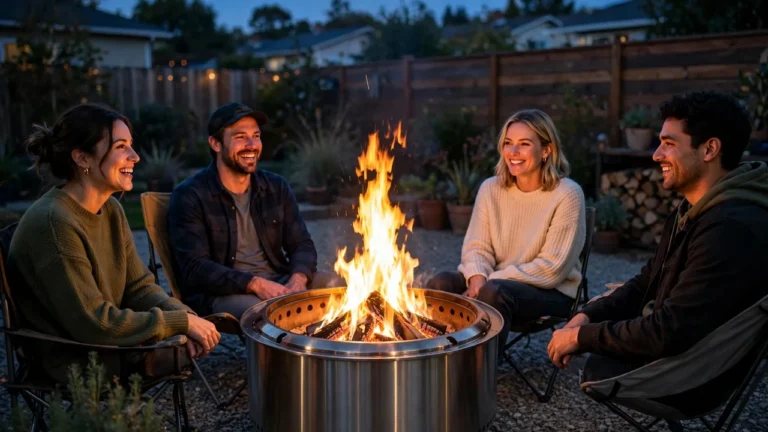
Place four to six chairs around the pit with about 2 to 3 feet between the chair fronts and the pit edge. That gap keeps knees warm without scorching them and leaves room to stand and tend the fire. Angle the chairs slightly toward each other so people can talk across the flames. Add a small side table or two for drinks, and a metal bucket for ash near the edge of the circle.
Keep a clear path from the house to the pit for carrying wood. A couple of flat pavers set into the lawn make a simple walkway and stop the grass wearing into a muddy track by midsummer. Store a stack of dry firewood near the house, not beside the pit, and bring only what you plan to burn.
Step 8: Light a Test Fire and Check for Problems
Light a small fire on a calm evening and watch how the area behaves before you invite friends over. Check that smoke clears the seating and does not blow into open windows. Feel for heat on the chairs and the edging. Look for gravel popping or stones shifting under the pit. A test fire shows problems while they are still small.
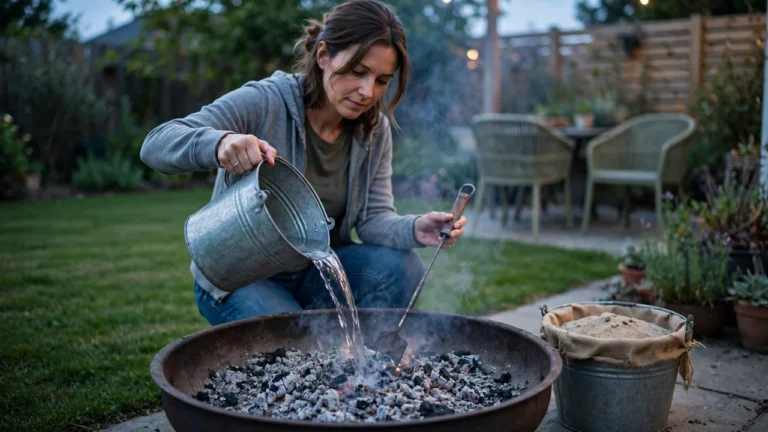
Put the fire out the right way and check the pit the next morning. Our guide to putting out a fire pit safely covers the drown, stir, and feel method. If the gravel under the pit is scorched or displaced, add a layer of lava rock or a heat shield mat under the pit before the next fire.
Walk the area once a week during fire season and rake the gravel back into place. Pull any weeds that poke through, tighten loose edging stakes, and sweep stray stones off the lawn before mowing. Ten minutes of upkeep keeps the area looking new for years.
Before and After: What Changes
Before
- A fire pit sitting on bare lawn
- Grass scorched and worn thin
- Chairs sinking into soft ground
- No clear place for wood or drinks
- Smoke and sparks near the house
After
- A level gravel circle with firm footing
- Edging that holds the surface in place
- Chairs at a comfortable distance from the heat
- A path for wood and a spot for drinks
- Clear space on every side of the flames
5 Mistakes to Avoid
1. Skipping the rules check. A pit built under a burn ban or too close to a fence may have to be moved or removed. The phone call takes ten minutes.
2. Building on a slope. Gravel drifts downhill, chairs slide, and water pools on the low side. Pick flat ground or level the spot first.
3. Skimping on gravel depth. A thin layer lets grass poke through and stones scatter. Aim for 3 inches across the whole circle.
4. Crowding the chairs. Seats closer than 2 feet from the pit are too hot to sit in. Give everyone room to pull back.
5. Burning the wrong fuel. Treated wood, painted wood, trash, and green wood all cause problems, from toxic fumes to heavy smoke. Burn only dry, seasoned firewood and approved fire pit fuel.
Frequently Asked Questions
How big should a fire pit area be?
A 14-foot circle fits a pit up to 36 inches wide with four to six chairs and room to move. A 12-foot circle works for four chairs in a small yard. Go bigger if your pit is wider than 40 inches.
What is the best surface under a fire pit?
Pea gravel and crushed stone are the most common choices because they drain well, do not burn, and level out with a rake. Pavers give a flat surface for chairs but cost more. Never put a wood-burning pit directly on a wood deck; read our guide on fire pits and wood decks first.
How far should a fire pit area be from the house?
Many towns ask for at least 10 feet from structures, but the rule varies. Check your local code and use the number your town gives you. Keep the area clear of fences, sheds, trees, and overhead branches too.
How much gravel do I need for a fire pit area?
A 14-foot circle at 3 inches deep takes about one cubic yard of gravel. A 12-foot circle takes about three-quarters of a cubic yard. Order a little extra so you can top up thin spots later.
Can I build a fire pit area on grass?
Strip the grass first. A pit set on lawn scorches the grass, sinks into soft ground, and leaves a bare patch. Removing the sod and laying gravel gives you a level, fire-safe surface that lasts.
Do I need a permit to build a fire pit area?
Most towns do not require a permit for a surface-level gravel area with a portable pit, but some do. Call your town office before you dig and ask. Rules for the pit itself and for open burning are often separate from rules for the patio surface.
Quick Reference Card
What You Need
Fire pit, about 1 cubic yard of gravel, landscape fabric, about 45 feet of edging, stakes, 4–6 chairs, tape measure, stakes and string, marking paint, shovels, wheelbarrow, rake, tamper, level, gloves, safety glasses.
Steps
- Check local rules and burn bans.
- Pick a flat spot with clearance on all sides.
- Mark a 14-foot circle with stake and string.
- Strip grass, level soil, lay landscape fabric.
- Set the edging ring.
- Spread 3 inches of gravel and tamp.
- Place the pit, arrange chairs 2–3 feet back.
- Light a test fire and fix any problems.
Keep a bucket of water or a hose nearby at every fire. Never leave a fire unattended.
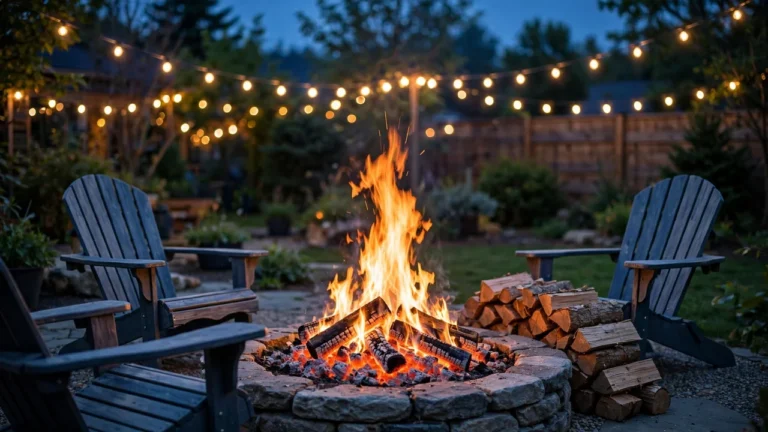
You now have a finished fire pit area: a level gravel circle, solid edging, and chairs placed where the heat feels good. The lawn stays green, the pit stays put, and the evenings belong to you.
Light your first real fire on a calm night, keep the wood dry, and enjoy the space you built. If you want to round out the setup, read our guide on how to start a fire in a fire pit and our fire pit buying guide before your next upgrade. Learning how to build a fire pit area in your backyard is the hard part — using it is the reward.