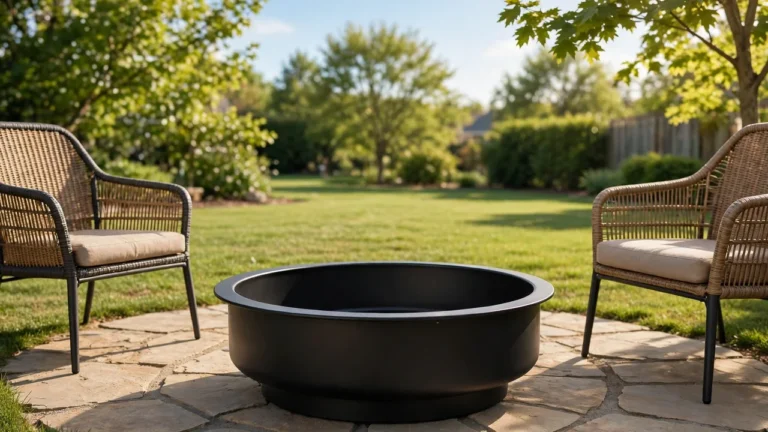
How to Start a Fire in a Fire Pit: A Beginner’s 8-Step Guide to a Safe, Roaring Backyard Fire
Learning how to start a fire in a fire pit is one of those skills that looks easy until your first attempt fills the yard with smoke and fizzles out. The secret is not lighter fluid or luck — it is dry wood, a good wood lay, and patience. Get those three right and the fire practically starts itself.
Many first-timers reach for lighter fluid or pile on big logs right away, and both are why backyard fires fail. A fire needs three things to live: fuel, heat, and air. Your job is to give it all three in the right order — light tinder that catches instantly, kindling that passes the flame upward, and full logs that feed on the heat once it is rolling. Starve any one of them and you get smoke instead of flames.
This beginner guide walks you through the whole process: checking local burn rules, setting up a safe area, picking the right wood, stacking it so air can feed the flames, lighting it safely, and putting it out completely when the night is done. No experience needed. The first fire takes about half an hour from gathering wood to sitting back.
Safety note: outdoor fires can cause burns, start wildfires, or violate local law. Never use gasoline, kerosene, or lighter fluid in a fire pit, keep water within reach at all times, and never leave a fire unattended. If your area has a burn ban in effect, skip the fire entirely.
- Dry, seasoned hardwood (oak, maple, ash) or kiln-dried bundled wood
- Tinder: dryer lint, shredded newspaper, wood shavings, or commercial fire-starter cubes
- Kindling: pencil-thin sticks, about an armload
- Long lighter, long matches, or a lit twist of newspaper
- Garden hose with water on, or a full 5-gallon bucket of water
- Metal poker or tongs, plus heat-resistant gloves
- Check burn rules before you strike a match
- Clear a safe zone around the pit
- Pick dry, seasoned hardwood
- Build a teepee or log cabin lay
- Light the tinder from downwind
- Feed the fire slowly, not all at once
- Spot a failing fire early
- Drown, stir, and feel before you walk away
Check Burn Rules Before You Strike a Match
A burn ban turns any backyard fire into a fine — or worse, a wildfire risk. Many towns post burn bans during dry or windy weeks, and some require a permit year-round. A quick look at your city or county fire department website tells you the current status, and it also pays to know whether backyard fire pits are legal in your area. If a ban is in effect, wait it out; the fire pit will be there next weekend.
Clear a Safe Zone Around the Pit
Give flames room. Most fire-safety guidance calls for at least 10 feet between the pit and anything that can burn — fences, deck railings, dry grass, low-hanging branches. Sweep fallen leaves out of the zone, set chairs a few feet back from the rim, and keep a garden hose or a full bucket of water within reach before you light anything. Preparation takes minutes; it is the cheapest insurance you will ever buy.
Pick Dry, Seasoned Hardwood
Dry wood is the difference between a one-match fire and an hour of smoke. Seasoned hardwood — oak, maple, or ash that has dried for six months to a year — lights easily and burns clean. Two logs knocked together should give a crisp crack, not a dull thud. Our guide to the best firewood to burn walks through the top species, and if you cut your own, learning how to season firewood keeps your stack ready year-round.
Skip treated lumber, painted scraps, and green branches — they burn dirty and can release chemicals you do not want in your air.
Cracks in the ends, loose bark, light weight, and a hollow ring when struck — four signs your firewood is dry enough. If the wood feels heavy and the bark clings tight, it probably needs more seasoning.
Build a Teepee or Log Cabin Lay
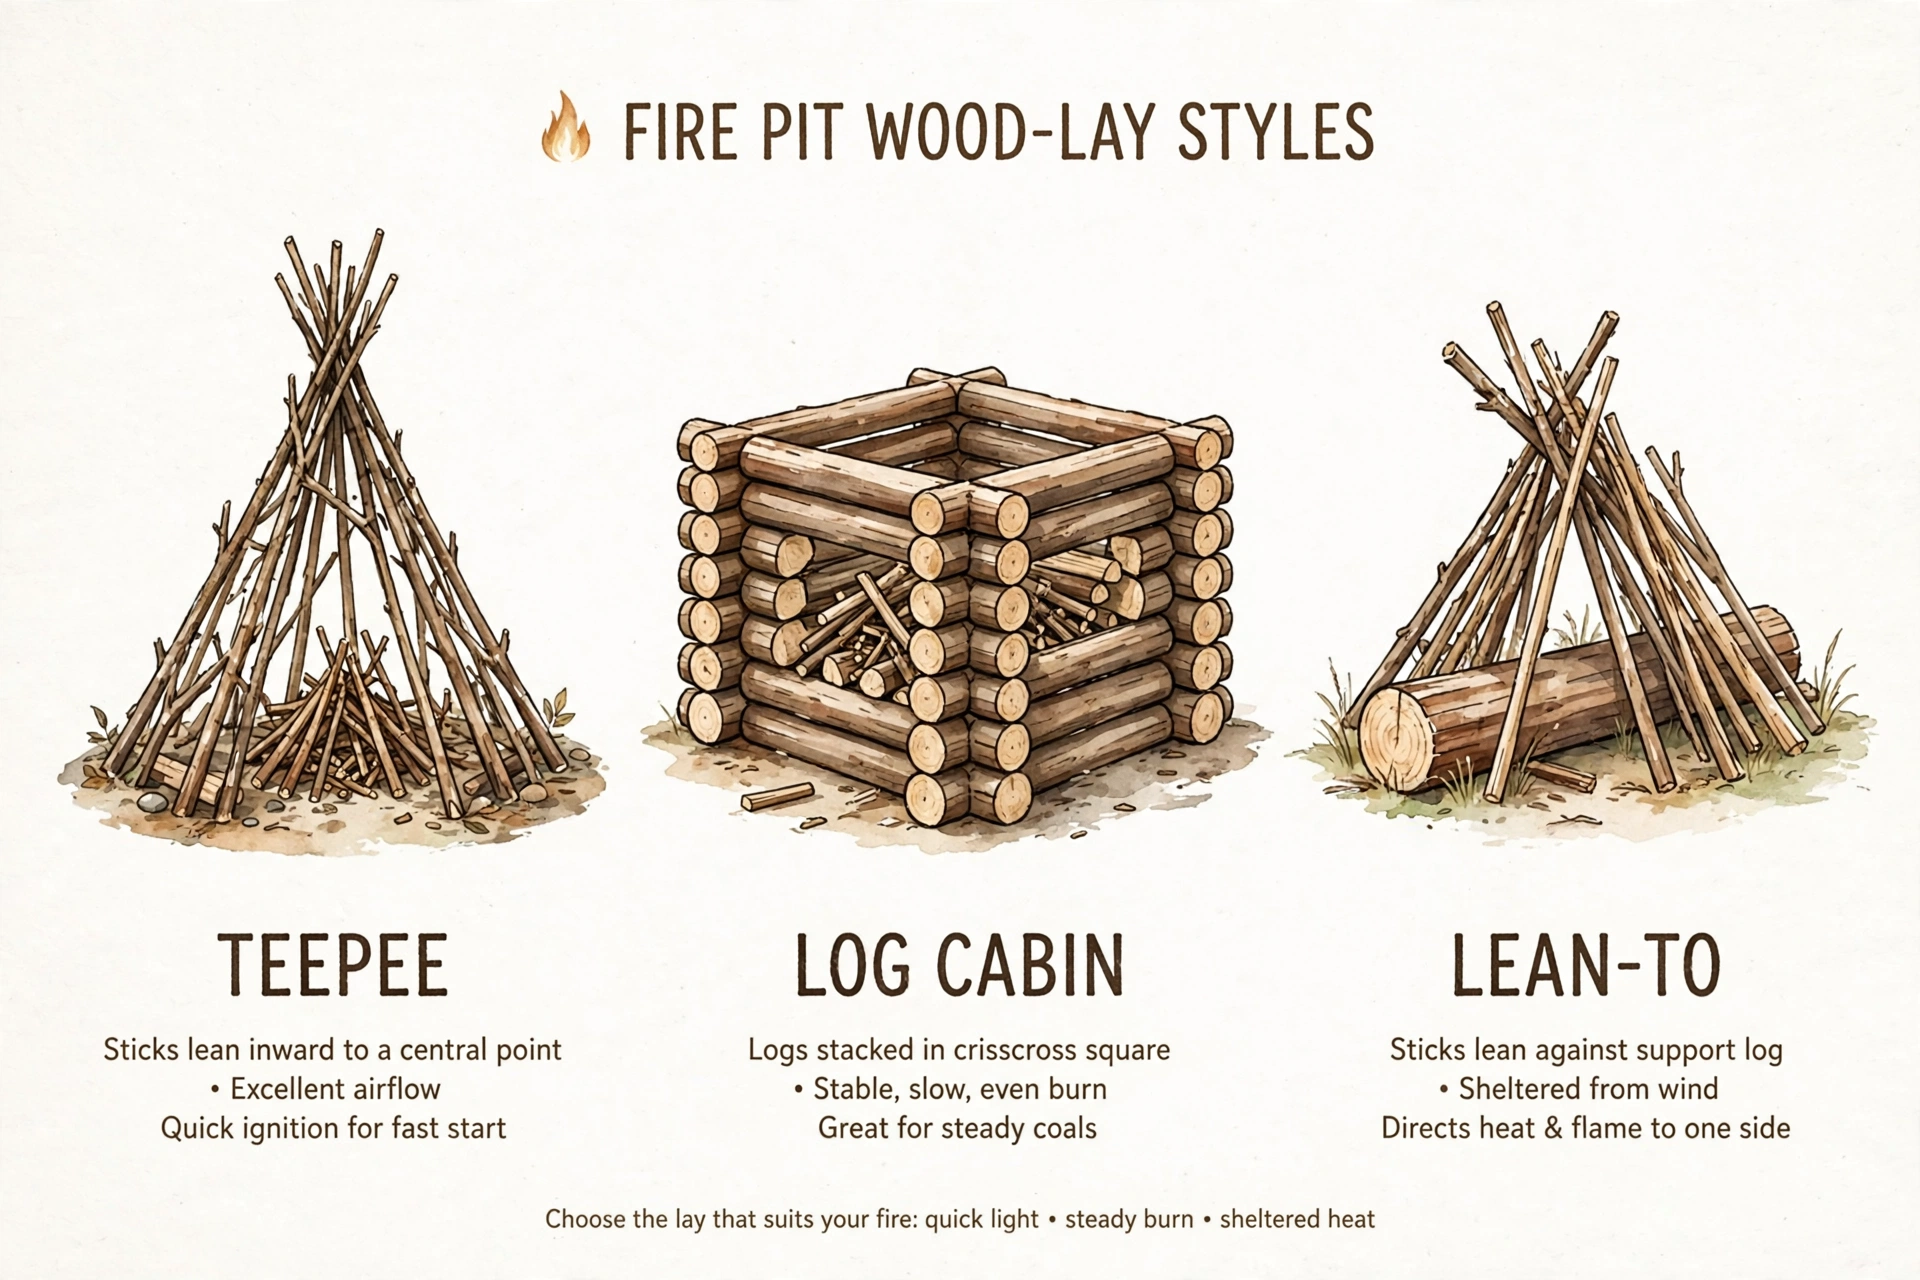
Your lay sets the whole burn. Place two or three fire-starter cubes or a fist-sized ball of tinder — dryer lint, shredded paper, or wood shavings — in the center of the pit. Lean pencil-thin kindling over it in a teepee shape, leaving gaps so air can move. Then lean two or three split logs against the teepee or stack them log-cabin style around it.
Keep air space between every layer; a tight pile smothers the flame before it starts.
Light the Tinder From Downwind
Wind changes the plan a little. Hold a long lighter or a lit twist of newspaper to the tinder on the side the wind reaches first, so the flames spread through the lay instead of blowing back toward you. Light in two or three spots around the base of the tinder. Once it catches, step back and let the kindling take over — resist the urge to lean in and blow on it like a birthday candle.
Feed the Fire Slowly, Not All at Once
New fires die from generosity. When the kindling is fully lit and the flames are steady, lean one split log against the burning center and wait — a few minutes is plenty — before adding a second. Each log should catch before the next one goes on. Build a bed of glowing coals first; after that, the fire practically runs itself, and you can add logs whenever the flames start to dip.
Spot a Failing Fire Early
A fire that is not catching gives itself away: thick smoke, flames that shrink the moment you look away, and hissing or steaming wood. Every one of those signs points to damp wood or starved airflow. Do not pour on anything flammable — gasoline and lighter fluid cause flash fires that can seriously injure you.
Instead, slide a few dry sticks into the heart of the lay, loosen any packed layers to let air in, and give it a few more minutes. Most struggling fires recover with dry fuel and breathing room.
| What You See | Likely Cause | Fix It |
|---|---|---|
| Flames start, then die within minutes | Wood packed too tightly | Loosen the lay with a poker so air flows between pieces |
| Heavy smoke and hissing sounds | Damp or green wood | Swap in dry kindling and tinder; set damp logs aside to dry |
| Tinder burns out without catching kindling | Not enough tinder or thick kindling | Add more tinder under the kindling and use thinner sticks |
| Wind keeps knocking the flames flat | Exposed lay on a gusty night | Use a lean-to lay with a log as a windbreak; light from downwind |
Drown, Stir, and Feel Before You Walk Away
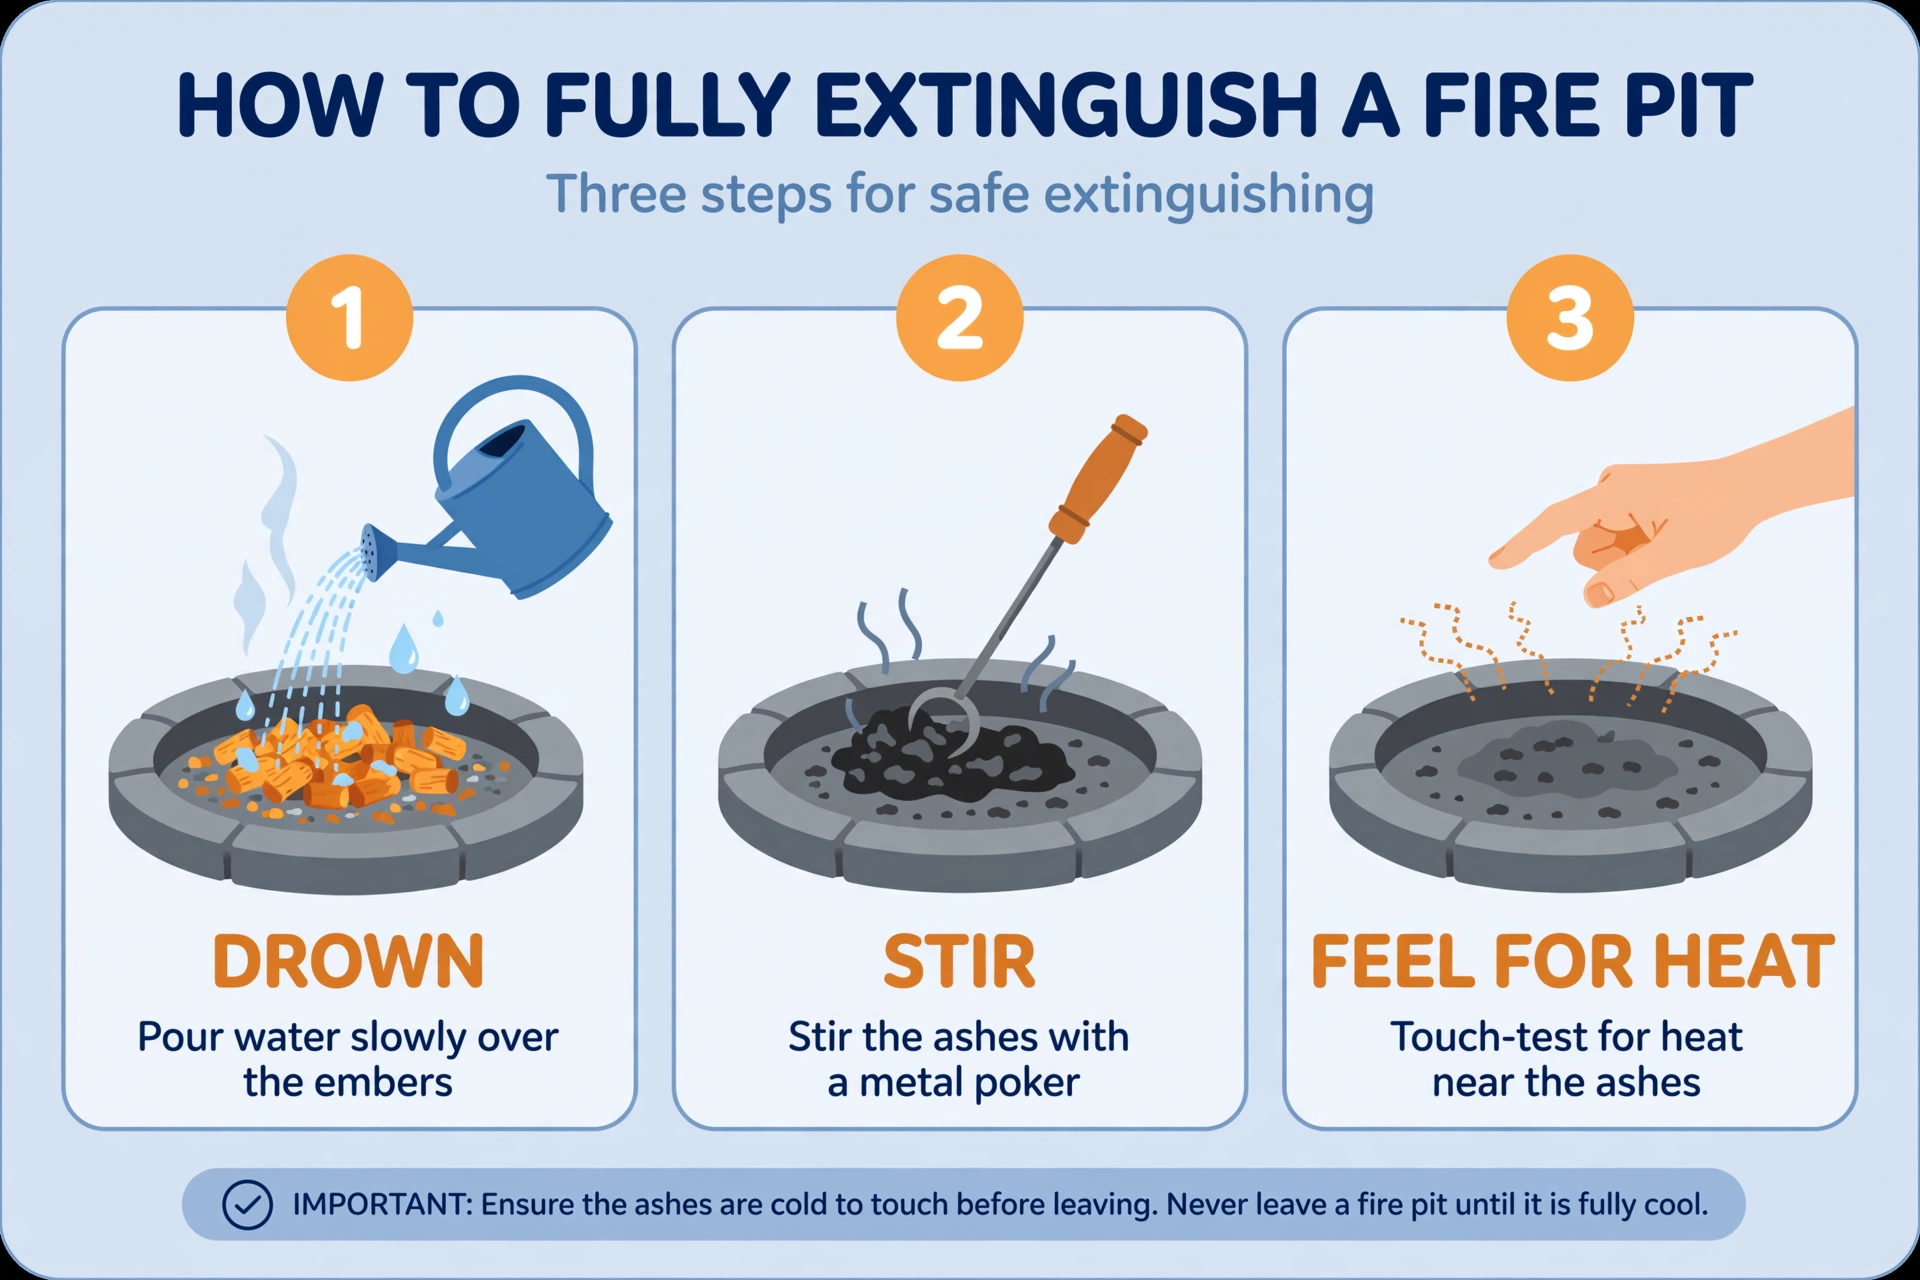
An unattended fire pit is never safe, even when the flames are gone — buried coals can smolder for hours and reignite with a breeze. When the evening is over, pour water over the remains until the hissing stops, stir the ashes with a metal poker to expose hidden embers, and water it again. Then hold the back of your hand close above the ashes. If you feel any warmth, repeat the whole process.
Leave only when everything is cold to the touch.
Fire Pit Fire FAQ
Can I use lighter fluid in a fire pit?
No. Lighter fluid, gasoline, and kerosene can flash back and cause serious burns or an out-of-control fire. Use tinder, kindling, and a proper wood lay instead — they work better anyway.
What should I never burn in a fire pit?
Never burn treated lumber, painted or stained wood, plywood, plastic, or household trash — they release toxic fumes. Stick to clean, dry firewood. See our guide to what you can safely burn in a fire pit for the full list.
How long does it take to start a fire pit fire?
With dry wood and a good lay, most beginners have steady flames within 5–10 minutes of lighting the tinder. Damp wood or a packed lay can stretch that to half an hour of frustration.
Why is my fire pit so smoky?
Smoke almost always means wet wood. Switch to well-seasoned hardwood, keep the fire small while it gets going, and make sure air can flow between the pieces. Green or damp wood smokes because it spends its energy boiling off water.
Can I leave the fire pit before it is fully out?
No. Coals can stay hot for hours and rekindle in a breeze. Drown the embers with water, stir the ashes, and feel for heat. Leave only when everything is cold to the touch.
- ✅ Check burn bans and local fire pit rules first
- ✅ Keep 10+ feet of clearance and water within reach
- ✅ Burn only dry, seasoned hardwood — no fluids, ever
- ✅ Layer tinder → kindling → logs with air gaps
- ✅ Light from downwind, feed logs one at a time
- ✅ Drown, stir, feel for heat — leave only when cold
Your first fire pit fire is really about three things: checking the rules, using dry wood, and giving the flames air and patience. Once those click, you will wonder what ever seemed hard about it. On a crisp night with the flames going, there is no better seat in the house than the one by your fire pit.
When you are ready for your next backyard project, read how to build a fire pit — it pairs perfectly with everything you learned above.