How to Build an Electric Fireplace Wall
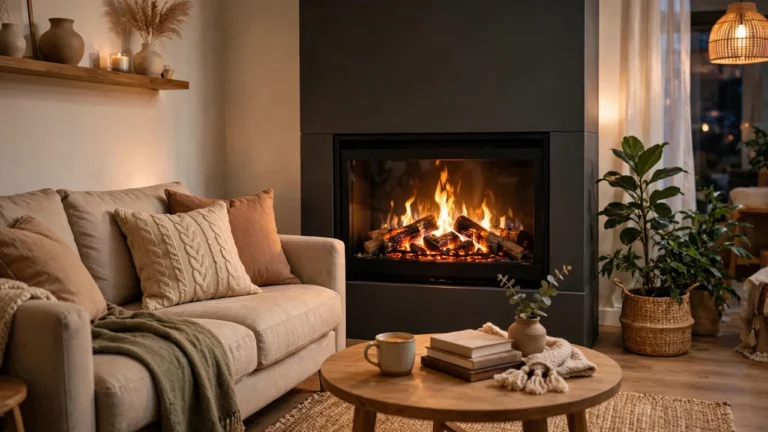
How to Build an Electric Fireplace Wall starts with a clear plan, a safe power source, and a frame that fits your fireplace insert. A built-in wall gives a room a calm focal point, hides cords, and lets you set the heat and flame look from one spot. This guide walks you through each phase in order, from measuring the wall to adding trim and testing the unit.
You do not need to move a chimney or vent smoke outside, because an electric unit makes heat and light with power alone. That fact keeps the build within reach for many homes, yet the power side still needs care. A wrong outlet spot or a crowded circuit can trip a breaker, dim lights, or strain the cord.
Before you cut wood or buy boards, read your fireplace manual and check the size, weight, and clearance rules for your model. Each model has its own fit and vent needs, so the steps below point you to those specs at each stage. With the right size and a safe outlet, the rest of the build is wood, drywall, and trim.
Time & Difficulty
- Time: Plan for one weekend, plus drying time for joint compound and paint.
- Difficulty: Moderate — measuring, framing, and drywall work.
- Power work: By a licensed electrician for any new circuit or wiring.
- Best for: A flat wall with room for a bump-out of a few inches.
Heads Up: Read This Before You Start
- Follow the fireplace manufacturer’s manual and clearance requirements for your exact model.
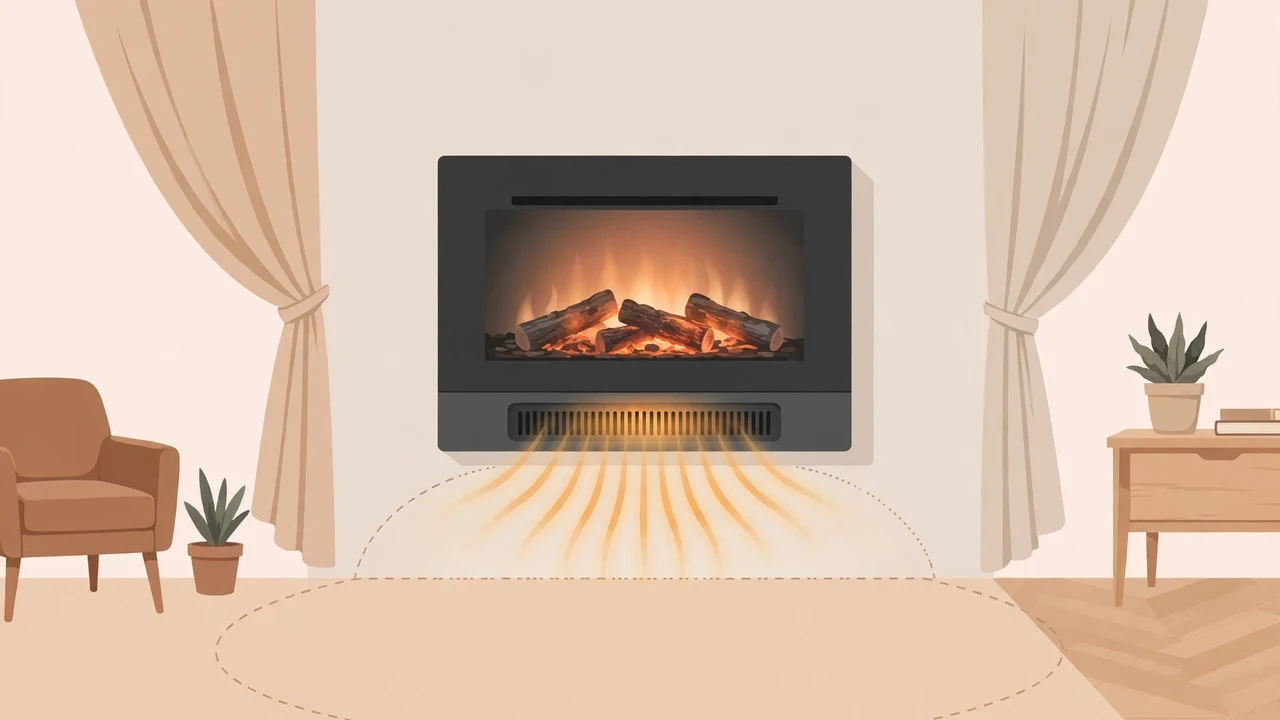
- Keep curtains, furniture, bedding, and other combustibles clear of the heater outlet.
- Never use an extension cord or an overloaded circuit for the fireplace.
- Hire a licensed electrician for any new circuit or wiring work.
- Turn power off at the breaker before any electrical work.
What You Need
Tools: Tape measure, level, stud finder, pencil, saw, drill and driver, drywall saw, and paint tools.
Materials: 2×4 lumber, screws, drywall, joint compound and tape, trim boards, paint, and your electric fireplace insert. Your electrician will advise on the outlet box and circuit parts.
If you are still choosing a unit, our guide to best electric fireplaces can help you compare sizes, and how an electric fireplace works explains heat and flame settings in plain terms.
How to Build an Electric Fireplace Wall Step by Step
At a Glance: The 7 Steps
- Measure your wall and pick the fireplace size.
- Mark the frame layout on the wall.
- Build the bump-out frame.
- Ask a licensed electrician to add power.
- Hang drywall and cut the fireplace opening.
- Slide the fireplace into the opening.
- Add trim and test heat and flames.
Measure Your Wall and Pick the Fireplace Size
A tape measure and a level tell you more than a guess can. Write down the wall width, ceiling height, and depth you can spare, then compare those numbers with the insert size in the manual. A unit that is too wide will force a late change to the frame, while one that is too small can leave a gap that trim cannot hide well. Leave room for air flow around the unit, as the manual states.
Mark the Frame Layout on the Wall
Chalk lines and painter’s tape give you a full-size preview before you cut a board. Mark the outer edges of the bump-out, the centre line, and the height of the mantel if you plan one. Check the marks with a level, and stand back to see how the shape sits in the room. A mark that looks off now is cheap to move, while a built frame is not.
Build the Bump-Out Frame
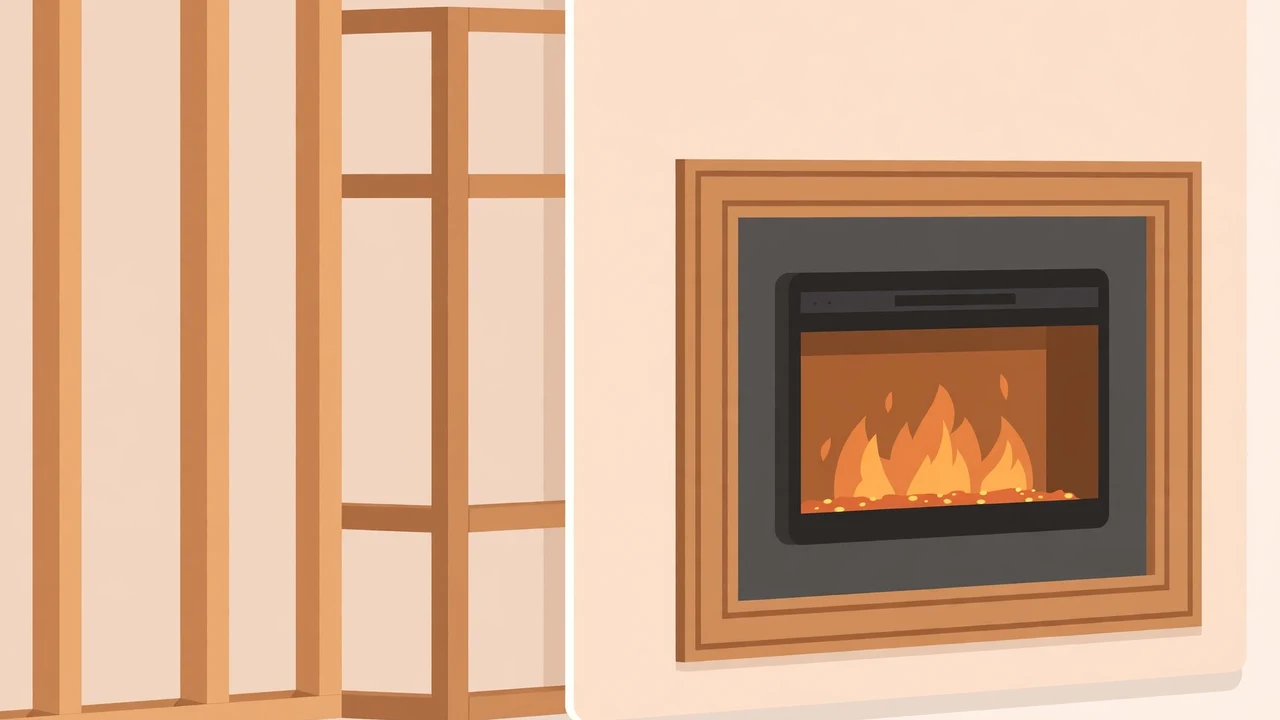
Straight studs and square corners keep the drywall flat later on. Cut your top and bottom plates to match the marked width, then add studs at even gaps and a header above the fireplace opening. Use a level on each stud, and screw joints tight so the frame does not rack when you lift drywall sheets. A frame that leans now will show as a wavy wall after paint.
Ask a Licensed Electrician to Add Power
Power work is the one part of this build to hand to a pro. Show the electrician the manual page for power needs and the spot you marked for the outlet, which should sit behind or near the insert as the manual allows. The electrician can check the circuit load, add a new circuit if the panel needs one, and fit an outlet box at the right height. A shared, crowded circuit can trip when the heater runs with other large loads, so this check guards against that fault.
Hang Drywall and Cut the Fireplace Opening
A bare frame starts to look like a room wall at this stage. Screw sheets to the frame, keep joints tight, and mark the fireplace opening on the face before you cut. A drywall saw gives more control than a power saw in a tight corner, and a slow cut keeps the edge clean for trim. If the opening ends up too large, a filler strip and trim may hide it, but a snug fit looks far better.
Slide the Fireplace Into the Opening
Two pairs of hands make this part safer for both you and the unit. Lift the insert with care, guide the cord to the outlet without pinching it, and push the unit in until its front sits flush with the drywall face. Check that vents stay open and that no cord rests against a sharp frame edge. A pinched cord can wear with heat and use, so pause and reroute it if you feel resistance.
Add Trim and Test Heat and Flames
A clean edge at the opening and a test run prove the build works. Fit trim around the opening, fill nail holes, and paint or stain to match the room. Plug in the unit, run the flame look first, then run heat on a low setting and watch for odd smells, sounds, or a tripped breaker. If heat trips the breaker, stop, unplug the unit, and call the electrician back before you use heat again.
For the plug-in phase in more detail, see how to install an electric fireplace. If you want a cost and value check first, read are electric fireplaces worth it.
Common Mistakes to Avoid
- Skipping the manual clearance rules for your exact model.
- Putting the outlet on a crowded circuit that trips under heat.
- Building a frame that is out of square, so drywall waves.
- Cutting the opening too large and hoping trim will cover it.
- Pinching the cord behind the insert.
- Adding trim before you test heat and flames.
Frequently Asked Questions
Do I need a chimney or vent for an electric fireplace wall?
No, you do not need a chimney or vent, because an electric fireplace makes heat and light with power alone. You still need to follow the manual for air flow and clearance around the unit.
Can I plug the fireplace into a normal outlet?
Many units plug into a standard outlet, but you must check the power needs in your manual first. Never use an extension cord, and ask an electrician if the circuit also serves other large loads.
How deep should the bump-out wall be?
The depth depends on your insert depth plus drywall and trim, so check the manual before you frame. Measure the unit itself, not a photo or a guess, and add room for the cord and vents.
Can I build the wall around a fireplace I already own?
Yes, if the size, weight, and clearance rules fit the wall you plan to build. Measure the unit on all sides, and frame the opening to the manual size rather than to the old spot it sat in.
Do I need a licensed electrician?
Yes, for any new circuit or wiring work, and for advice if you are unsure about the circuit load. Plugging a unit into a sound, existing outlet is a different case, but stop and call a pro if anything about the power feels unclear.
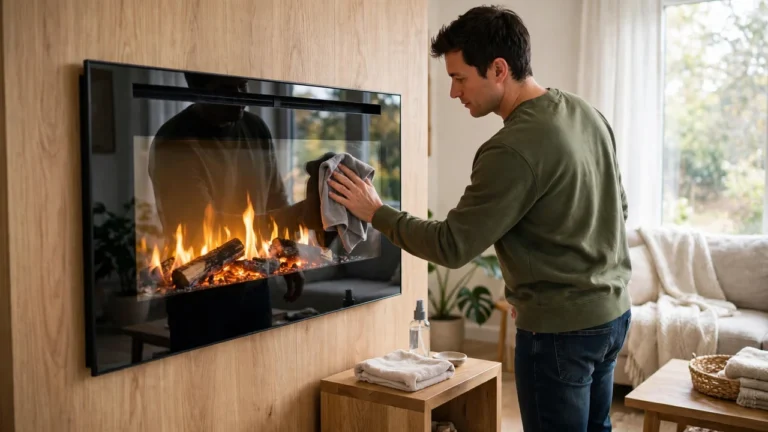
When the trim is painted and the flames glow, step back and enjoy the new focal point. Keep the front clear, dust vents with care, and check the manual if heat output changes. Your next step is a short test week: run heat in short spells and note how the room feels.
Quick Reference Card
- Measure the wall and the insert, then mark the layout.
- Frame the bump-out square and level.
- Have a licensed electrician add safe power.
- Hang drywall, cut a snug opening, and fit the insert.
- Add trim, test flames, then test heat on low.
- Keep the heater outlet clear at all times.