How to Install an Electric Fireplace: A Step-by-Step Guide for All 3 Types
Your new electric fireplace is sitting in a box by the front door, and the big question is what happens next. Good news: installing one is far simpler than most people expect. There is no chimney to build, no gas line to run, and no venting to cut through your walls.
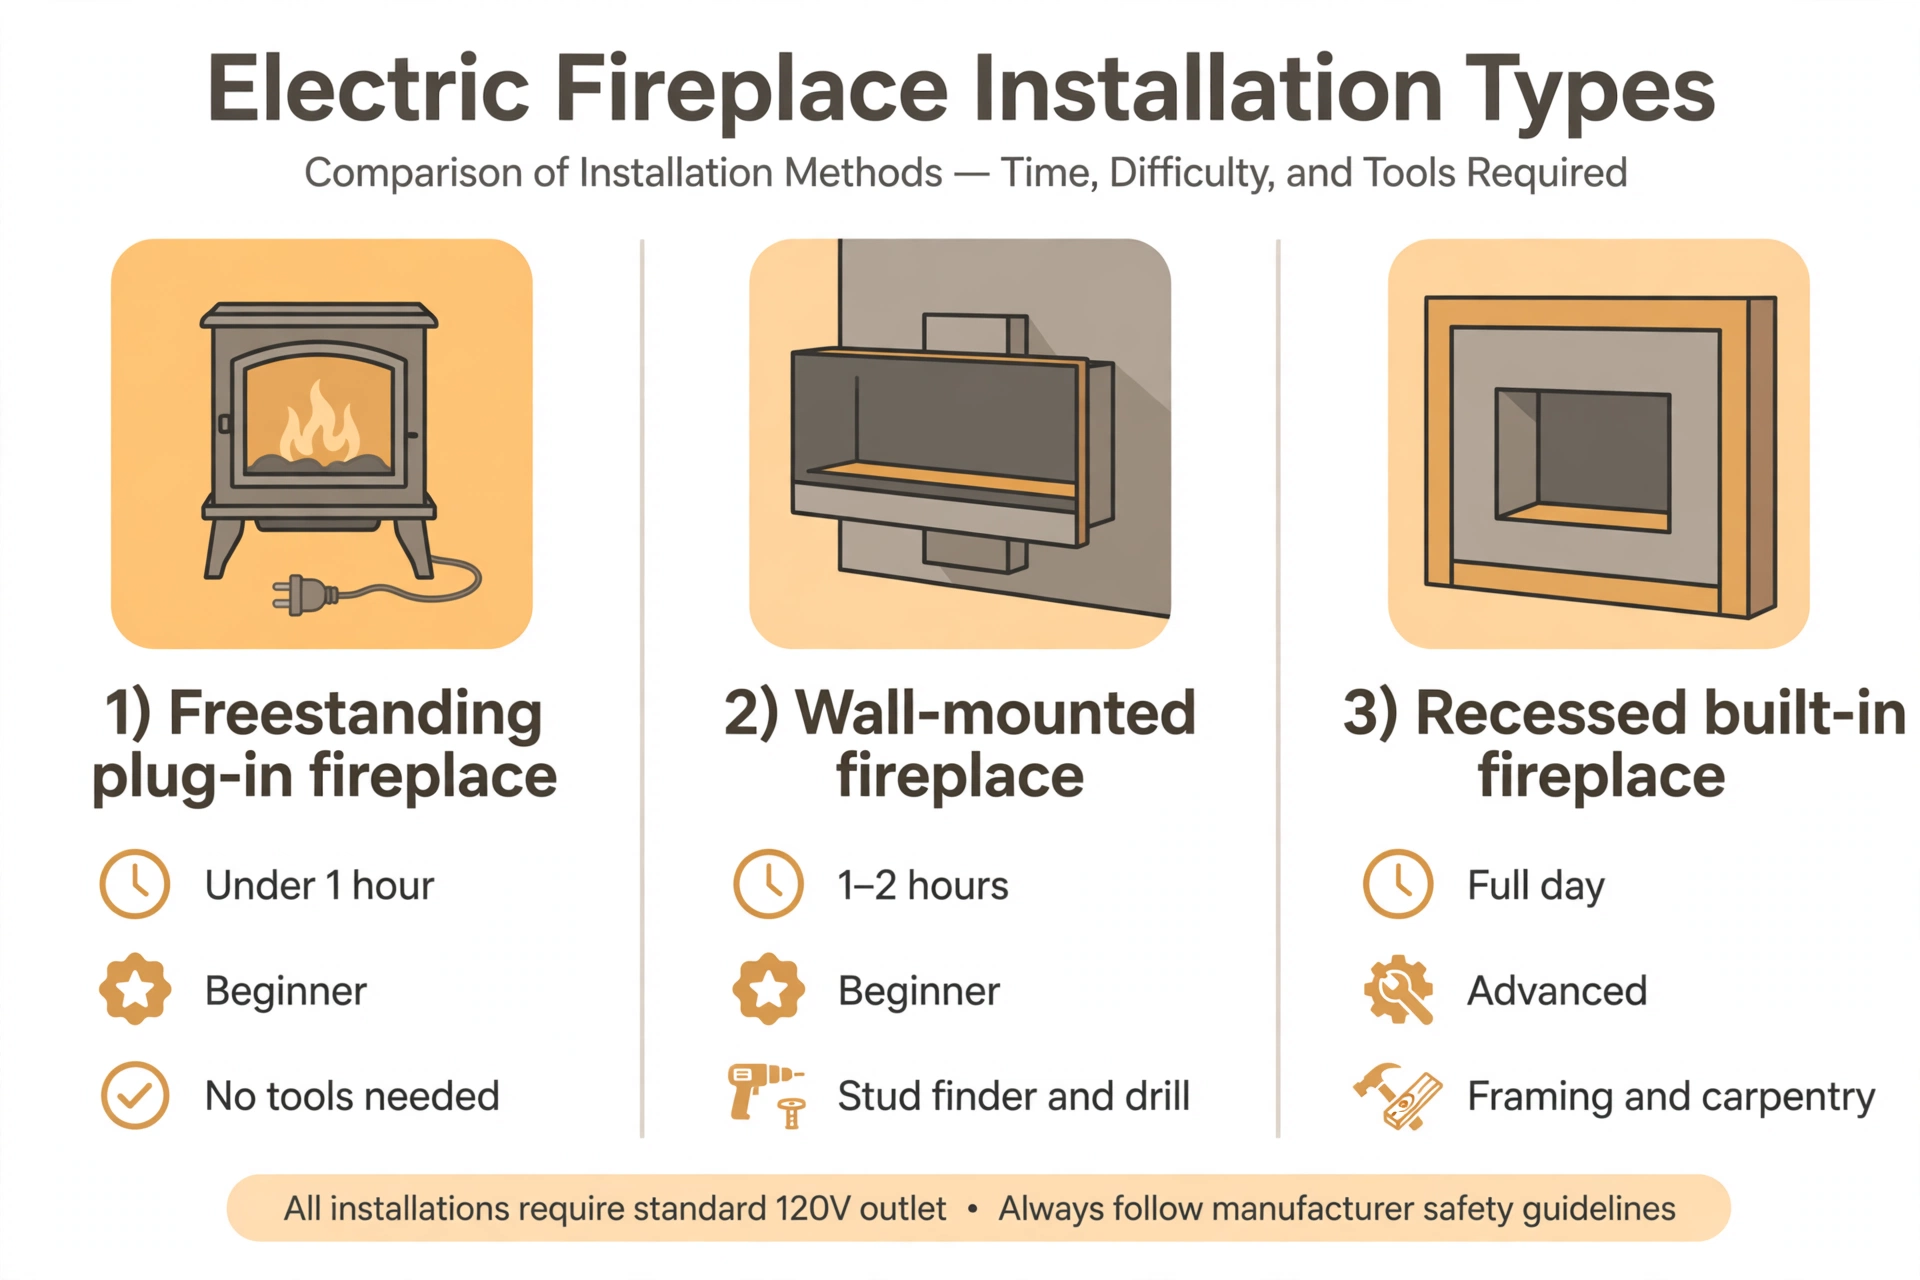
Yes, you can install an electric fireplace yourself. The exact work depends on which of the three install types you bought: a freestanding plug-in unit, a wall-mounted unit, or a recessed built-in. Plug-in models take under an hour with no tools. A wall-mount job takes an afternoon with a drill and a stud finder. A recessed install is a full-day project with framing, and it is the one that sometimes needs an electrician.
This guide walks you through all three paths in the order you should actually do them. By the end, your unit will be mounted, wired safely, tested, and warming the room. I will flag every point where the safe move is calling a licensed electrician instead of doing it yourself.
What You Need
- Electric fireplace unit with manual
- Tape measure and painter’s tape
- Stud finder
- Spirit level (or phone level app)
- Power drill and drill bits
- Pencil and masking tape
- Screwdriver set
- Mounting bracket (included with wall units)
- 2×4 lumber and drywall (recessed installs)
- Drywall saw (recessed installs)
- Voltage tester (any wiring work)
- A helper for lifting heavy units
At a Glance
- Choose how you will install your electric fireplace
- Read the manual and check your circuit
- Test the unit before you mount anything
- Measure the space and mark your clearances
- Set up a freestanding or mantel unit
- Hang a wall-mounted unit on studs
- Frame the opening for a recessed unit
- Wire the recessed unit and slide it in
- Power up, test every function, and finish
Choose How You Will Install Your Electric Fireplace
Everything else on this page depends on this one decision, so make it before you open any packaging. There are three install types.
A freestanding or mantel unit sits on the floor against a wall and plugs into a standard outlet. A wall-mounted unit hangs on a bracket like a flat-screen TV, with the cord routed to an outlet or hidden in a cord cover. A recessed unit sits inside the wall cavity so its face is flush — that means framing work and possibly new wiring. Renting? Choose freestanding or wall-mount; both come off cleanly when you move.
Read the Manual and Check Your Circuit
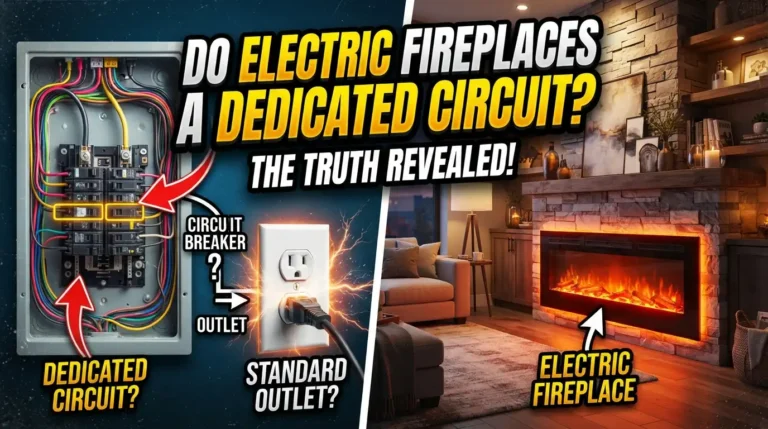
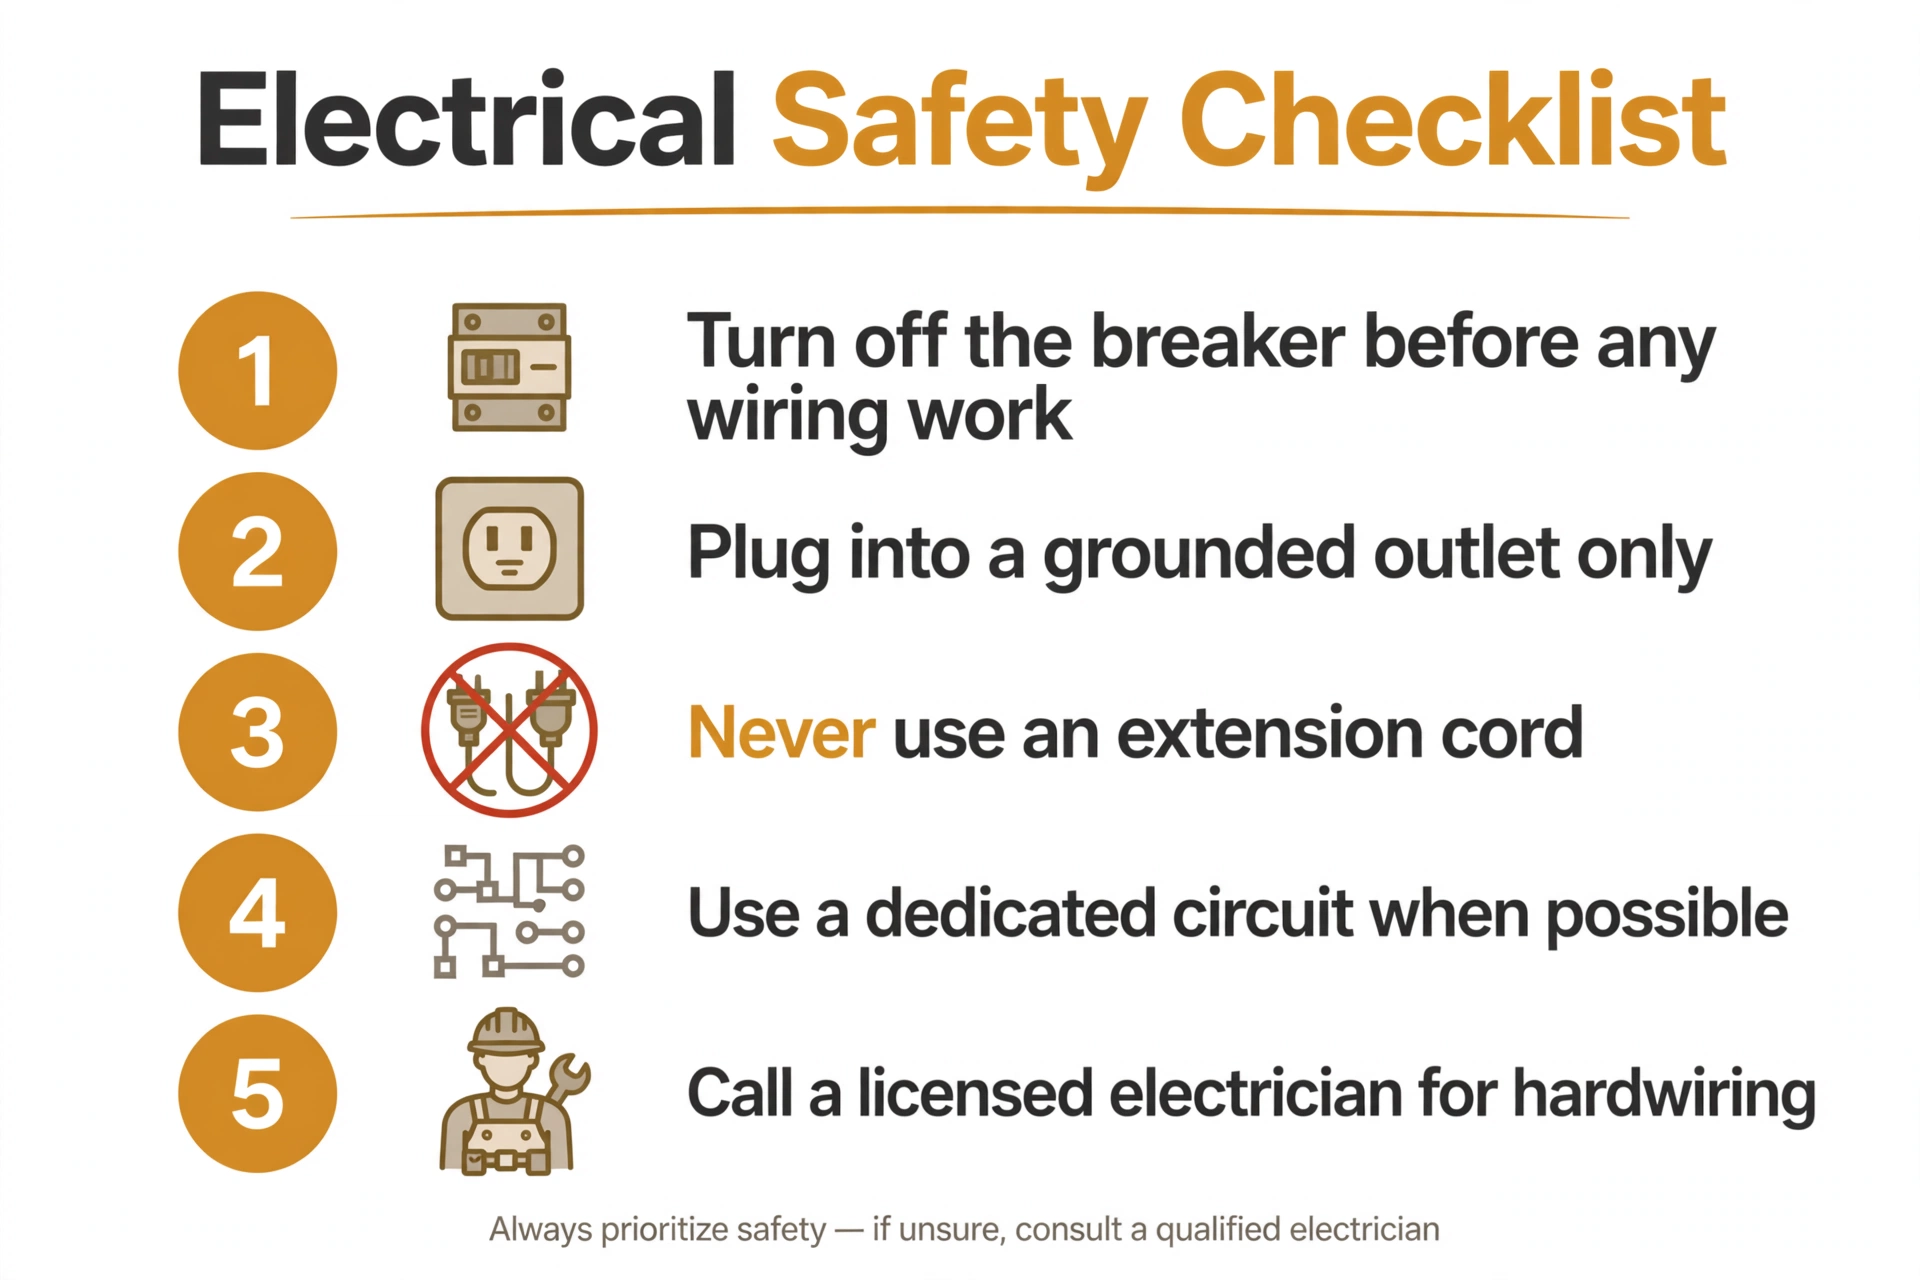
Open the manual to the page with the electrical requirements and clearances. Look for the wattage, the recommended circuit size, and the minimum distance the unit needs from curtains, furniture, and other combustibles. Most models draw around 1,500 watts on high heat — about what a space heater uses — so a 15-amp circuit can handle it, but manufacturers often recommend a dedicated circuit so the breaker never trips mid-movie.
Find a grounded 120-volt outlet within reach of the power cord. Plan the cord route before you drill a single hole.
Electric fireplaces are high-wattage appliances. Plug the unit directly into a grounded outlet — never use an extension cord or power strip, which can overheat. If your unit needs hardwiring or a new circuit, stop there and call a licensed electrician. Always switch the breaker off and confirm power is dead with a voltage tester before touching any household wiring.
Renters and condo owners should also check electric fireplace code requirements for their area before cutting into walls or adding circuits.
Test the Unit Before You Mount Anything
Unbox the fireplace on the floor and plug it into a nearby grounded outlet. Run the flame effect, then switch the heater on and let it blow for five minutes. A faint new-appliance smell on the very first heat-up is normal and fades quickly.
Catching a dead-on-arrival unit on the living room floor beats discovering it halfway up a wall. Check that the remote pairs, the thermostat responds, and every flame color or brightness setting works.
Keep all packaging and hardware bags until the install is finished. Missing mounting screws are much easier to identify while the box parts list is in your hand.
Measure the Space and Mark Your Clearances
Measure the unit’s width, height, and depth, then use painter’s tape to outline its footprint on the floor or wall. This five-minute trick prevents the classic mistake of hanging a 50-inch unit centered on a 42-inch wall section.
Mark the manual’s required clearances around that outline. For wall-mounted units, sweep a stud finder across the area and tape-mark each stud — you want the bracket screwed into at least two of them.
A phone level app works fine for checking that your tape outline is straight. The eye forgives a crooked tape line; it will not forgive a crooked fireplace.
Set Up a Freestanding or Mantel Unit
Position the assembled unit against the wall, flat on the floor. Press it back until it sits square and level — a rocking unit on uneven floors gets a folded piece of cardboard under the low corner. Plug the cord directly into the grounded outlet you chose in step two.
Keep the heater’s air intake and outlet vents clear of curtains and furniture, and leave the cord where nobody will trip on it. Done — now learn the controls with our guide on how to turn on an electric fireplace.
Hang a Wall-Mounted Unit on Studs
Hold the bracket at your marked height and check it with the level — the bottom of the unit usually sits about 12 inches off the floor. Mark screw holes that land on studs, then drill pilot holes.
Drive the supplied screws through the bracket into the studs until it is rock solid. With a helper, lift the fireplace onto the bracket’s lower lip and tip it back, then tighten the locking screws.
When studs do not line up with the bracket holes, use heavy-duty toggle anchors rated above the unit’s weight. Hide the cord with a paintable cord cover.
Frame the Opening for a Recessed Unit
A recessed install usually means building a bump-out: a shallow framed wall that sticks out from the existing wall, because most interior walls are not deep enough to swallow a firebox. Build a simple 2×4 frame sized to the manual’s rough-opening dimensions — slightly larger than the unit so it slides in.
Secure the frame to the floor and the existing wall, add a second top plate for strength, and cover the sides and front with drywall, leaving the firebox opening clear. Cut the opening with a drywall saw only after scanning for wires and plumbing with your stud finder.
Cutting into a wall is the point of no return. Confirm no electrical wires, pipes, or HVAC ducts run through that cavity before the saw touches drywall. When in doubt, hire a contractor for the framing.
Wire the Recessed Unit and Slide It In
With the frame ready, get power to the cavity. Plug-in recessed models need an outlet installed inside or behind the opening — have a licensed electrician add it. Hardwired models must be connected by an electrician, full stop.
Feed the power connection through the back or side access opening, then slide the fireplace into the frame until its face sits flush with the wall. Fasten it with the manufacturer’s screws, then clip on the trim panel to hide the seam.
Pause the caulk and paint until after step nine. You want to confirm everything works before you seal the edges.
Power Up, Test Every Function, and Finish
Switch the breaker back on, then run the unit through every setting: each flame style, brightness levels, heater on low and high, thermostat, timer, and remote. Stand close for a minute and listen — the fan should hum smoothly with no rattling.
Everything working? Finish the edges with trim, touch-up paint, and cord covers. Step back and enjoy it — then check our breakdown of what an electric fireplace’s lifespan looks like so you know how long this view will last.
Troubleshooting
| If This Happens | Try This |
|---|---|
| Breaker trips when the heater runs | Too much is sharing the circuit. Move the unit to a different circuit or have an electrician add a dedicated one. |
| Wall bracket feels loose on drywall | It missed the studs. Remount into studs, or use heavy-duty toggle anchors rated above the unit’s weight. |
| Remote does not respond | Replace the batteries, then re-pair it following the manual’s pairing steps. Some units need a fresh power cycle first. |
| Heater blows cold air | Check that the thermostat is set above room temperature and that the heater function — not the flame-only setting — is switched on. |
| Burning smell that will not fade | A faint first-use smell is normal; a strong or lasting smell is not. Unplug the unit and contact the manufacturer. |
Frequently Asked Questions
Do electric fireplaces need to be vented?
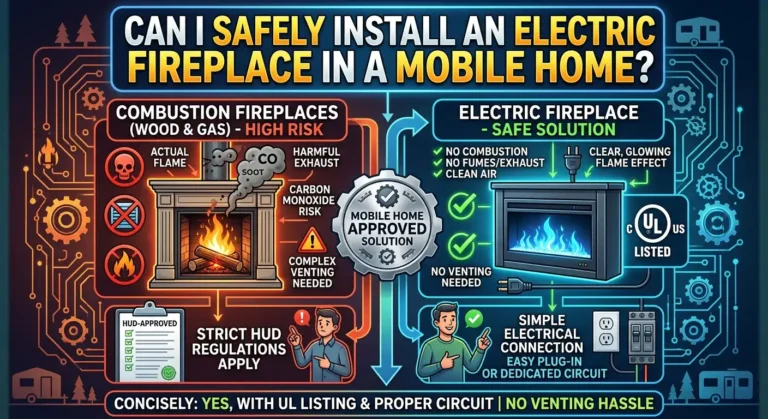
No. Electric fireplaces produce no combustion, so they need no chimney or venting — which is why you can install one in almost any room. Read more in our guide on whether electric fireplaces need venting.
Can I install an electric fireplace myself?
Yes for freestanding and wall-mounted units — both are genuine DIY jobs with basic tools. Leave hardwiring and new circuit work to a licensed electrician.
Does an electric fireplace need a dedicated circuit?
Not always, but it is recommended. Most units draw around 1,500 watts on high heat, so a shared circuit with other heavy appliances can trip the breaker. Check your manual’s electrical specs.
Can I use an extension cord with an electric fireplace?
No. Extension cords and power strips can overheat under a heater’s sustained load. Plug the unit directly into a grounded wall outlet within reach of its cord.
Are there building code rules for electric fireplace installation?
Yes — electrical codes still apply, especially for hardwired units and new circuits. See our overview of electric fireplace code requirements before you cut into a wall.
Quick Reference Card
What you need: manual, tape measure, stud finder, level, drill, screwdriver, bracket (included), lumber + drywall saw (recessed), voltage tester, a helper.
- Pick freestanding, wall-mount, or recessed
- Read the manual; check the circuit; no extension cords
- Test the unit on the floor first
- Tape-measure the space; mark studs and clearances
- Freestanding: position, level, plug in
- Wall-mount: bracket into studs, hang, lock screws
- Recessed: frame the bump-out opening
- Recessed: electrician wires it, slide unit in, attach trim
- Test every function; finish the edges
You did it — your electric fireplace is mounted, wired safely, and tested. Whether it was a 15-minute plug-in or a full-day recessed build, the hard part is behind you.
Now that you know how to install an electric fireplace, a smart next step is checking how much an electric fireplace costs so the first power bill holds no surprises. Enjoy the glow.