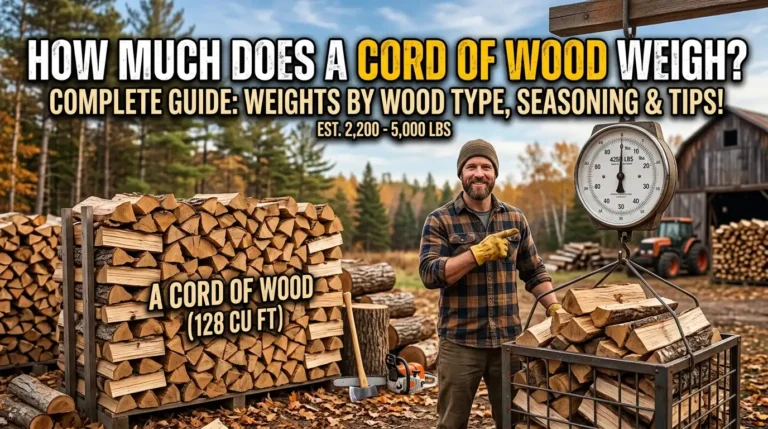
Elm Firewood: Your Complete Burning Guide
This elm firewood burning guide is for anyone staring at a pile of elm rounds and wondering whether the wood is worth the workout. Elm has a reputation: it burns fine, but splitting it feels like wrestling rope. Here is the honest truth I learned the hard way — elm rewards the effort. Seasoned elm gives steady, medium heat and breaks down into long-lasting coals that hold a stove warm for hours.
The catch is processing. Elm grain grows twisted and interlocked, so a maul glances off where oak would pop apart. Split it green, give it 12 to 24 months of sun and air, and dry it below 20 percent moisture, and you will have dependable firewood for winter. Skip those steps and you will fight smoke, sizzle, and a chimney collecting creosote.
In this guide you will identify usable elm, split it without wrecking your back, stack it so it actually dries, test it before you burn, and fire it the right way. Expect one solid weekend of hard work now for steady heat later — elm is an intermediate wood, not a beginner-friendly one, and I will say so plainly throughout.
A quick safety note before you lift a maul: firewood work and wood heat carry real risks. Wear eye and ear protection, gloves, chaps, and boots when cutting or splitting. Never work alone, and keep children and pets well clear.
Burn only in a vented stove or fireplace, keep a working carbon monoxide detector near the appliance, and have your chimney inspected and swept every year. Never burn treated, painted, or stained wood, plywood, MDF, or household trash — the fumes are toxic. Check your local burn bans and firewood transport rules before you start.
What You Need
- Splitting maul or splitting wedge and sledgehammer
- Hydraulic log splitter (strongly advised for elm)
- Chainsaw with a sharp chain
- Pin-type moisture meter
- Pallets or a firewood rack
- Tarp or stack cover
- Tape measure or a marked cutting stick
- Safety glasses, ear protection, gloves, chainsaw chaps, steel-toe boots
Before and After: What to Expect from Elm
- Heavy and damp to the touch
- Stringy, fibrous split faces
- Sour or musty smell
- Bark tight against the wood
- Hisses and sizzles in a fire
- Noticeably lighter in the hand
- Ends checked with visible cracks
- Bark loosening or peeling
- Hollow knock when pieces tap together
- Moisture meter reads below 20%
At a Glance
- Inspect the tree and leave punky wood behind
- Split the rounds while the wood is still green
- Cut rounds to match your firebox
- Stack the splits off the ground in sun and wind
- Test the moisture before you burn a single log
- Build the fire and let elm do the long, steady work
Step 1: Inspect the Tree and Leave Punky Wood Behind
Most free elm comes from trees killed by Dutch elm disease, a fungal disease spread by elm bark beetles that has left millions of standing dead elms across the country. That dead standing wood is often your best elm — it has already started drying.
Leave soft or punky logs behind. Hollow cores, shelf fungus, and spongy centers burn fast and grow mold in the stack. Elm already dries slowly, so sound wood is not optional.
Step 2: Split the Rounds While the Wood Is Still Green
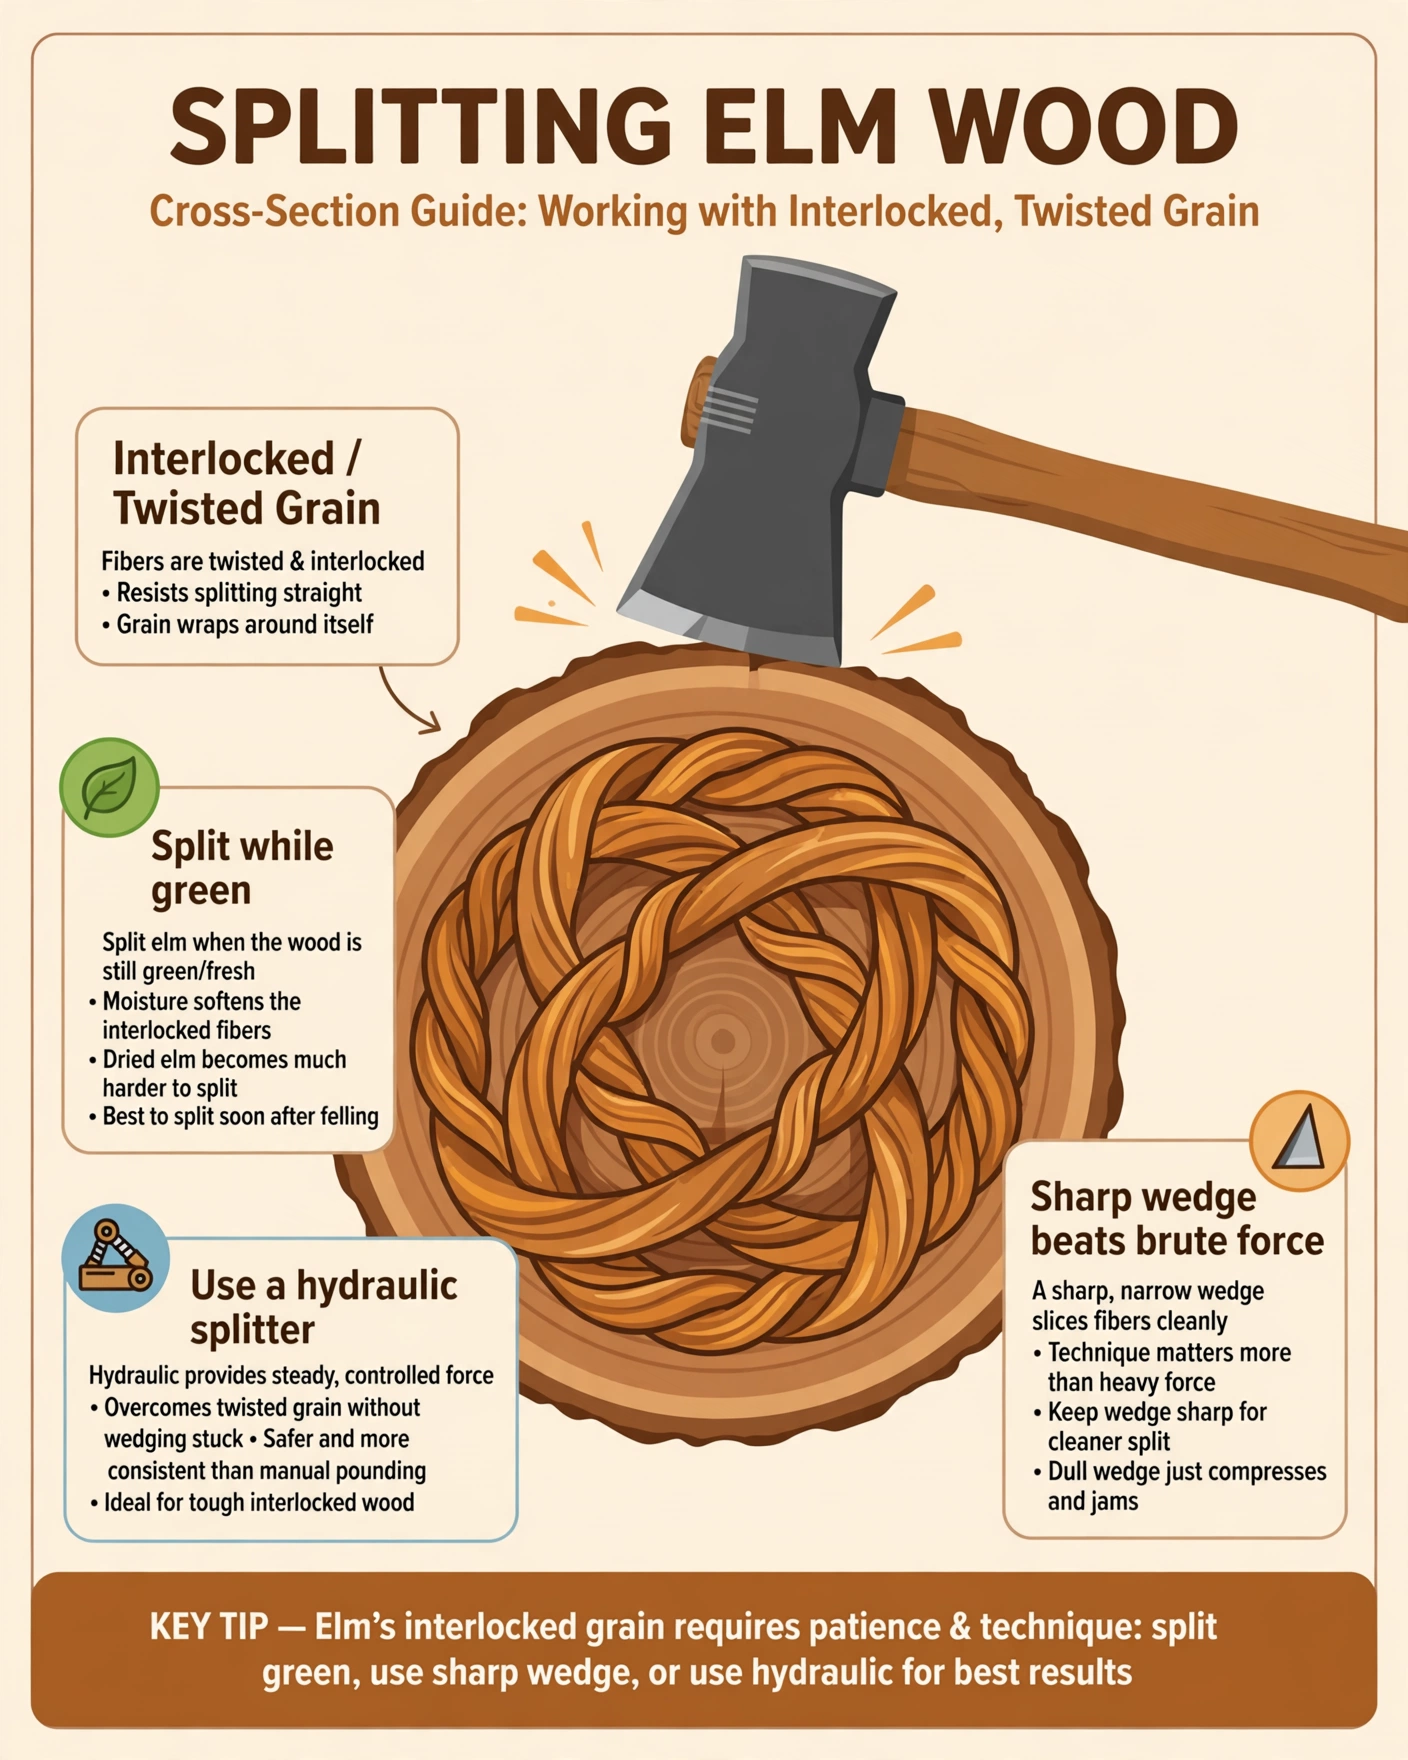
Elm grows with interlocked, stringy grain fibers that grip a wedge instead of popping apart. The longer elm sits unsplit, the harder it gets — splitting green is the key elm skill. Aim to split within a few days of cutting, while the rounds are still heavy and wet.
A hydraulic splitter is worth borrowing or renting for elm — it turns a weekend of misery into an afternoon of steady work. Splitting by hand? Drive your wedge along the grain’s natural checks rather than dead center, and let the round’s own weak spots do part of the job.
Step 3: Cut Rounds to Match Your Firebox
Measure your firebox before you cut — do not guess. 16 inches suits most wood stoves; cut each round at least 2 inches shorter than your box depth. Mark a cutting stick at your target length and use it on every log.
Oversized pieces smolder and make smoke and creosote. Elm’s dense grain dulls chains fast, and a dull chain is slow and dangerous. Stop and sharpen when the saw pushes hard or throws dust instead of chips.
Step 4: Stack the Splits Off the Ground in Sun and Wind
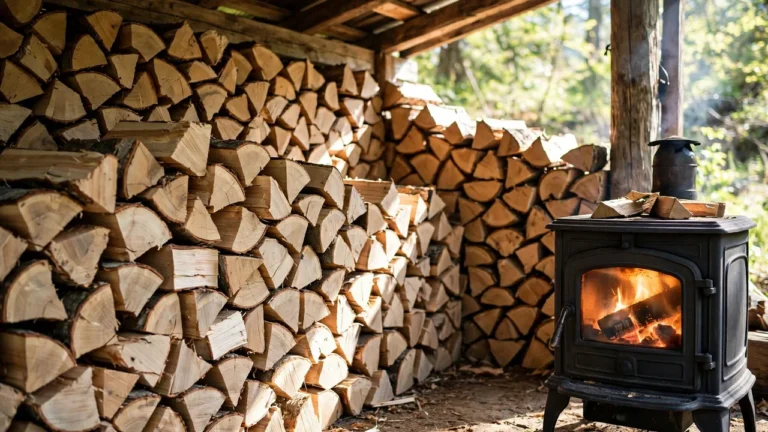
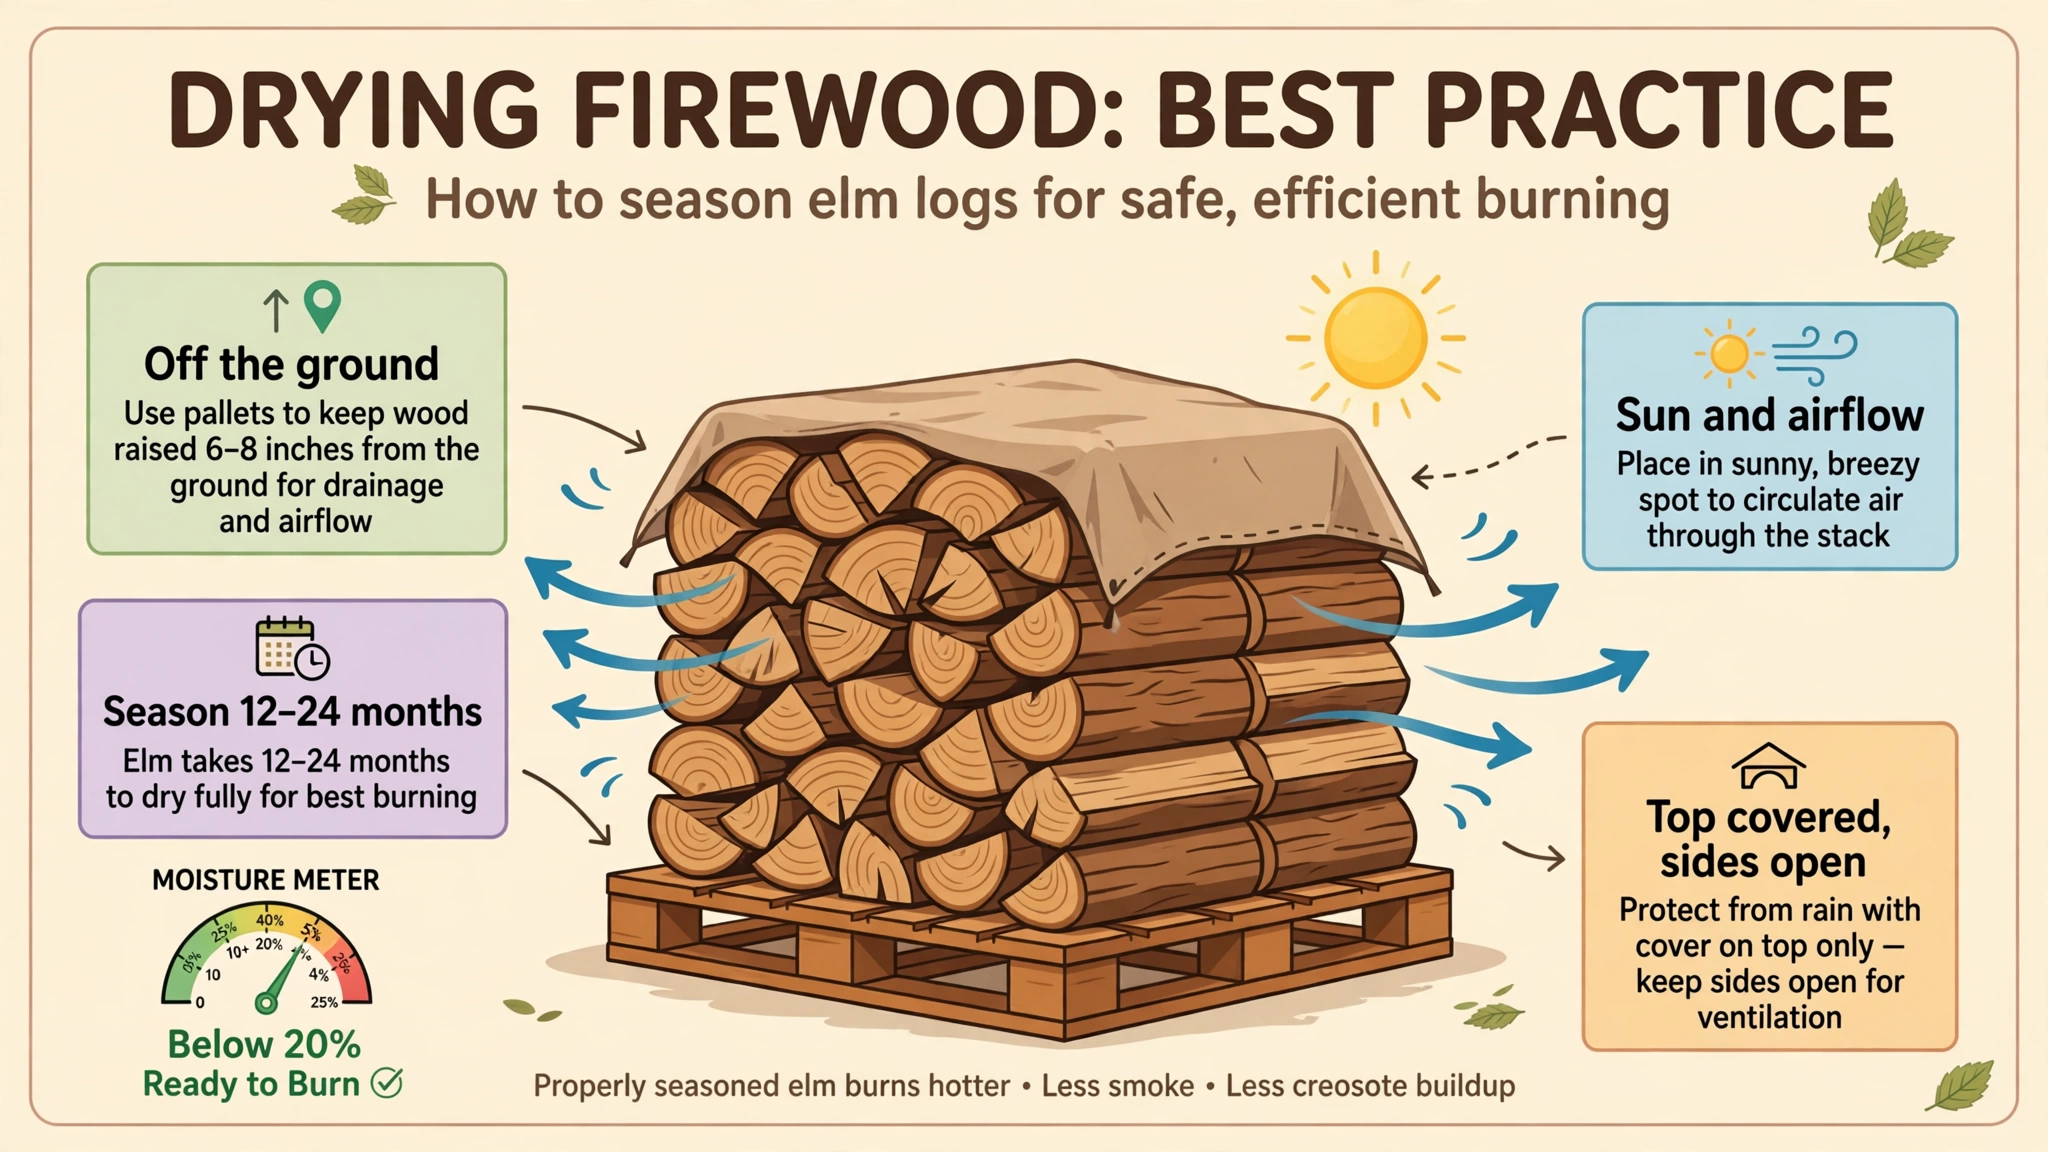
Elm will not dry sitting in a heap. Set your splits on pallets or a rack so air moves underneath, and build single rows in the sunniest, breeziest spot you have. Crisscross the ends of each row like a log cabin so the stack stands steady without leaning.
Cover only the top and leave the sides fully open — wrapping the whole pile traps moisture and grows mold. Expect 12 to 24 months of drying after splitting. Our guide on how to season firewood covers stack layouts in more detail.
Step 5: Test the Moisture Before You Burn a Single Log
A calendar cannot tell you when elm is ready — only a meter can. Press a pin-type moisture meter into a fresh split face (not the end grain) and look for below 20 percent. The outside can read dry while the inside is still wet.
Cracked ends and a hollow knock are useful clues, but treat them as backup, not proof. Learn the full signs in our guide on how to tell if firewood is seasoned, and see why waiting pays in our take on burning green firewood.
Step 6: Build the Fire and Let Elm Do the Long, Steady Work
Extension-service BTU charts put American elm at about 19–20 million BTU per seasoned cord — steady medium heat, less than oak but plenty for most stoves. It throws few sparks and breaks down into long-lasting coals that hold heat for hours.
Light with kindling and a hotter wood, then add elm once the box is hot. Use elm as your base load and save oak or ash for the coldest nights — see our roundup of the best firewood to burn. Start the season with fresh CO detector batteries and a swept chimney.
5 Mistakes This Elm Firewood Burning Guide Helps You Avoid
Frequently Asked Questions
Is elm good firewood?
Elm is fair-to-good firewood once it is fully seasoned. It gives steady, medium heat and excellent long-lasting coals, but it is very hard to split and burns poorly when green. It is most worthwhile when the wood is free or cheap and you have access to a splitter.
Why is elm so hard to split?
Elm grows with an interlocked, stringy grain that grips a wedge instead of popping apart like oak or ash. Split it while it is still green, start your wedge along natural checks in the round, and consider a hydraulic splitter for large rounds.
How long does elm firewood need to season?
At least 12 months after splitting, and often closer to 18 to 24 months. Do not burn it until a moisture meter reads below 20 percent on a freshly split face, since elm’s exterior can look dry while the inside is still wet.
Does elm firewood smell bad?
Green elm can smell sour or musty, especially wood from trees killed by Dutch elm disease. The smell fades as the wood dries, and properly seasoned elm burns with only a mild scent.
Can I burn elm in a wood stove?
Yes, once it is fully seasoned. Elm throws few sparks and produces long-lasting coals, which makes it a solid choice for stoves and fireplaces. Pair it with hotter woods like oak for the coldest nights.
Elm Firewood: Quick Reference Card
- Sound elm rounds — no punky rot or hollow cores
- Splitting maul or wedge (hydraulic splitter advised)
- Chainsaw with sharp chain, pallets, tarp, moisture meter
- Full PPE: eye/ear protection, gloves, chaps, boots
- Inspect: keep sound elm, leave punky logs behind
- Split green: work rounds within days of cutting
- Cut: 16-inch lengths to fit your firebox
- Stack: off the ground, sun and wind, top covered only
- Test: moisture below 20% on a fresh split face
- Burn: start hot, run elm as your steady base load
This elm firewood burning guide comes down to three habits: split green, dry long, and burn only below 20 percent moisture. Do those three and elm stops being a chore — it becomes the steady, coal-rich backbone of your winter woodpile.
Ready for more? Compare elm against the full lineup in our guide to the best firewood to burn, then plan next year’s stack before this season’s cutting is even done.