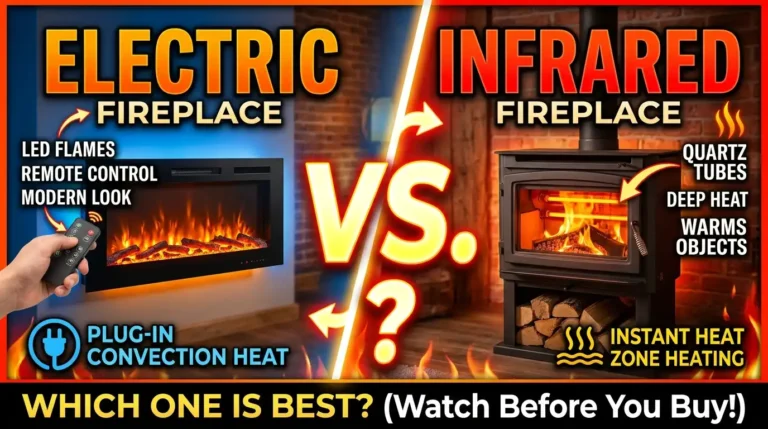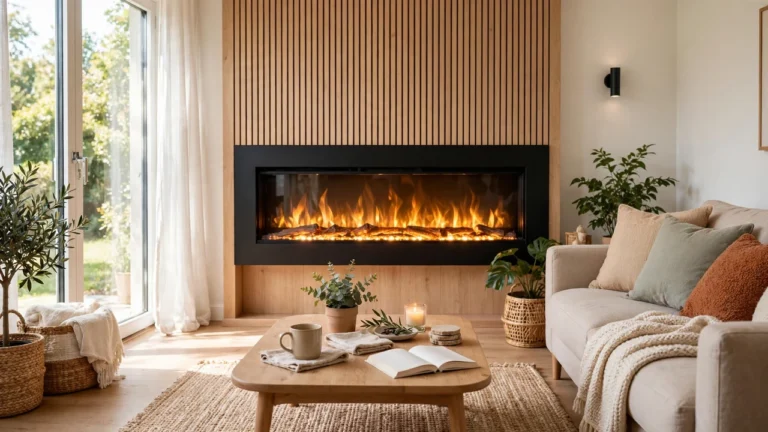
How to Make an Electric Fireplace Look Built-In
Safety first — read this before you start
Switch the power off at the breaker before you touch any wiring, outlet, or switch. Follow the clearance and ventilation instructions in your fireplace manual exactly, because models differ. Do not overload a circuit, and do not run a heater on a damaged cord or a loose outlet. Hire a licensed electrician for new wiring or a new outlet. If you smell burning, see scorch marks, or feel unsure about the wiring, stop and call a professional.
A freestanding electric fireplace can look out of place when it sits against a flat wall with cords showing. A built-in look changes that impression: the firebox sits flush in a framed wall section, the edges are trimmed, and the wall around it looks planned rather than added on.
This guide walks through the full project, from measuring the firebox to painting the trim. You can build a shallow bump-out on an existing wall, or recess the unit into a wall cavity if your home allows it. The bump-out route suits most skill levels and most homes, because it avoids opening up a load-bearing wall. Read your fireplace manual first, then follow the steps in order.
What you need
- Tape measure, level, pencil, and stud finder
- Your fireplace manual, with its clearance and ventilation pages marked
- 2×4 lumber for framing, plus screws rated for framing
- Drywall or shiplap boards, joint compound, and sandpaper
- Trim boards, caulk, primer, and paint
- Saw, drill, drywall knife, and safety glasses
- A licensed electrician, if the project needs new wiring or a new outlet
At a glance
- Measure the firebox and the wall.
- Plan a bump-out or a recess, with clearances from the manual.
- Turn off power and mark the studs.
- Build the frame.
- Arrange the electrical work through a licensed electrician if needed.
- Fit the fireplace and check the fit.
- Cover the frame with drywall or shiplap.
- Add trim, fill gaps, and paint.
- Prime, paint, and finish the wall.
- Test the heat, flame, and remote.
Measure Your Fireplace and Wall
Start with the firebox itself, not the wall. Measure the width, height, and depth of the unit, including any mounting brackets and the cord exit point. Write those three numbers down and keep them beside you for the whole project.
Next, measure the wall where the fireplace will go. Note the width of the wall, the ceiling height, and the distance to the nearest outlet. Check for studs with a stud finder and mark them lightly in pencil. A typical wall-mount unit might measure 50 inches wide, 20 inches high, and 6 inches deep, but your numbers govern your frame — never work from a guess or a photo of another unit.
Decide on the viewing height now. For a living room sofa, the centre of the flame display often sits near seated eye level, roughly 40 to 42 inches from the floor. Sit on your sofa and look at the wall before you mark anything. A fireplace placed too high strains the neck, while one placed too low can sit behind coffee-table clutter.
Plan a Bump-Out or a Recess
Choose between two main approaches. A bump-out builds a shallow box out from the existing wall, and it works in almost any room. A recess cuts into the wall cavity, and it only works where the cavity is deep enough and free of pipes, wires, and structural members.
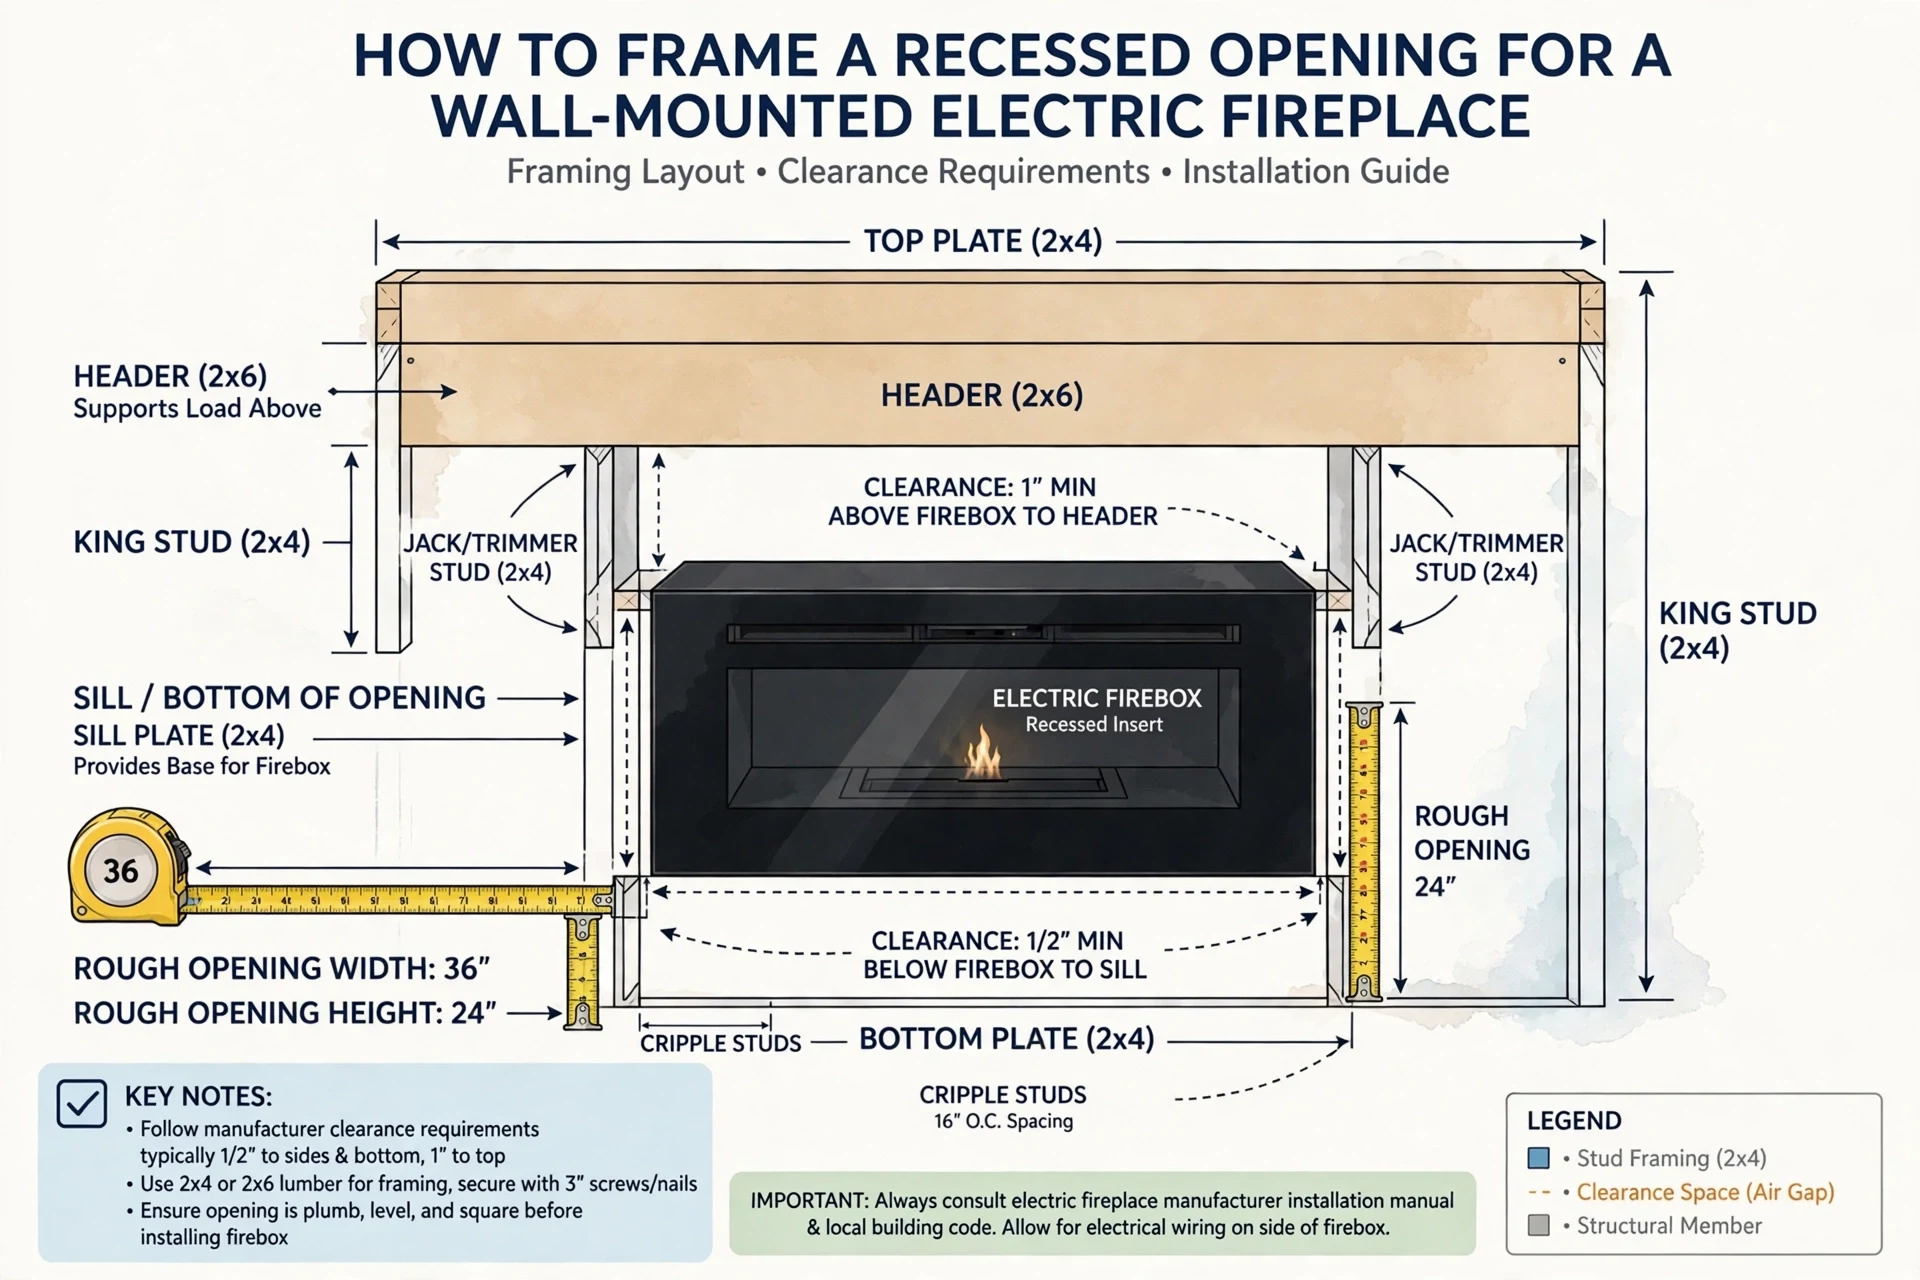
For a bump-out, plan a frame depth that covers the firebox depth plus the thickness of your wall covering. If your firebox is 6 inches deep and your drywall is 1/2 inch thick, a frame about 7 inches deep gives you room to set the unit flush. Add the clearance your manual requires on each side, top, and bottom — those numbers vary by model, so copy them from your manual rather than from this guide.
Sketch the front view on paper. Mark the firebox opening, the trim width, and any mantel shelf. If you want a mantel, plan it at least 12 inches above the top of the firebox unless your manual requires more space. For a full guide to the wall itself, see how to build an electric fireplace wall.
Turn Off Power and Mark the Layout
Switch off the breaker for the circuit that serves the wall outlet you plan to use. Test the outlet with a lamp or a tester to confirm it is dead before you work near it. Keep the breaker off until all wiring work is done and checked.
Transfer your paper sketch to the wall. Use a level to draw the outline of the bump-out or recess, and mark the stud positions inside it. Mark the outlet location too, so the cord can reach it without stretching across open space. If the cord will show, rethink the layout now — a built-in look fails when a cord dangles down the wall.
Check the wall for hidden problems before you cut or build. Look for signs of plumbing, vents, or existing wiring in the area. If you plan a recess and find pipes or wires in the cavity, stop and switch to a bump-out, or ask a professional to advise you.
Build the Frame
Cut your 2×4 lumber to match the sketch. Build a rectangular frame for the front face, with vertical studs spaced 16 inches apart on centre where possible, and horizontal pieces at the top and bottom of the firebox opening. The opening itself must match your firebox measurements plus the manual’s clearance on each side.
Anchor the frame to the wall studs with framing screws. Check the frame with a level on both sides and across the top. A frame that leans even a little will show once trim goes on, so fix it now while changes are cheap. Add cross-bracing behind the firebox opening so the unit has solid support and cannot tip forward.
If you are building a bump-out, add side panels to close the box. These panels give the drywall or shiplap a surface to attach to, and they keep the sides looking finished from an angle. Leave the back of the frame open only where the manual allows airflow, and never block a vent slot on the unit itself.
Arrange Safe Electrical Work
An electric fireplace needs a reliable power supply, and this is the step where hiring help pays off. If your room already has a suitable outlet in the right place, you may need no electrical work at all. If you need a new outlet, a moved outlet, or a new circuit, hire a licensed electrician to do it.
Ask the electrician to place the outlet inside the frame, behind or beside the firebox, so the cord stays hidden. Confirm that the circuit can carry the fireplace plus anything else on it, and do not share the circuit with a high-draw appliance if your manual warns against it. For background on the install itself, read how to install an electric fireplace.
Never run a power cord through a wall cavity unless the cord and the method are rated for that use and your local code allows it. A cord pinched behind drywall can overheat out of sight. When in doubt, ask the electrician — that question costs far less than a repair later.
Fit the Fireplace Into the Frame
With the frame built and the power still off, lift the fireplace into the opening. Work with a second person for larger units, which can be heavy and awkward to hold level while you fasten them. Set the unit in place and check the gaps on all four sides.
Fasten the unit using the brackets or screws supplied with it, following the manual. Do not substitute longer screws that could pierce the firebox, and do not force a unit into an opening that is too small — trim the opening instead. The front face should sit flush with the frame, or proud by no more than the thickness your trim will cover.
Check the flame display, the heater vent, and any air intake before you close up the wall. Make sure no framing, insulation, or drywall edge blocks a vent. If the manual lists a minimum clearance to curtains, furniture, or trim, measure it now and change the layout if needed. To understand the unit you are working with, see what an electric fireplace is.
Cover the Frame With Drywall or Shiplap
Cut drywall or shiplap boards to cover the front and sides of the frame, leaving the firebox opening clear. Score drywall with a knife and snap it along the line, or cut shiplap with a saw. Fasten boards to the studs with screws, keeping screw heads slightly below the surface.
Tape the drywall joints and apply joint compound in thin coats, letting each coat dry before you sand it. Two thin coats beat one thick coat, which can crack as it dries. For shiplap, butt the boards tight and check each row with a level, since a crooked row near the firebox draws the eye.
Sand the joints smooth and wipe away dust with a damp cloth. Hold a light at an angle to the wall to spot ridges or dips. Fix them now, because paint will highlight every flaw that primer alone cannot hide.
Add Trim and a Mantel Shelf
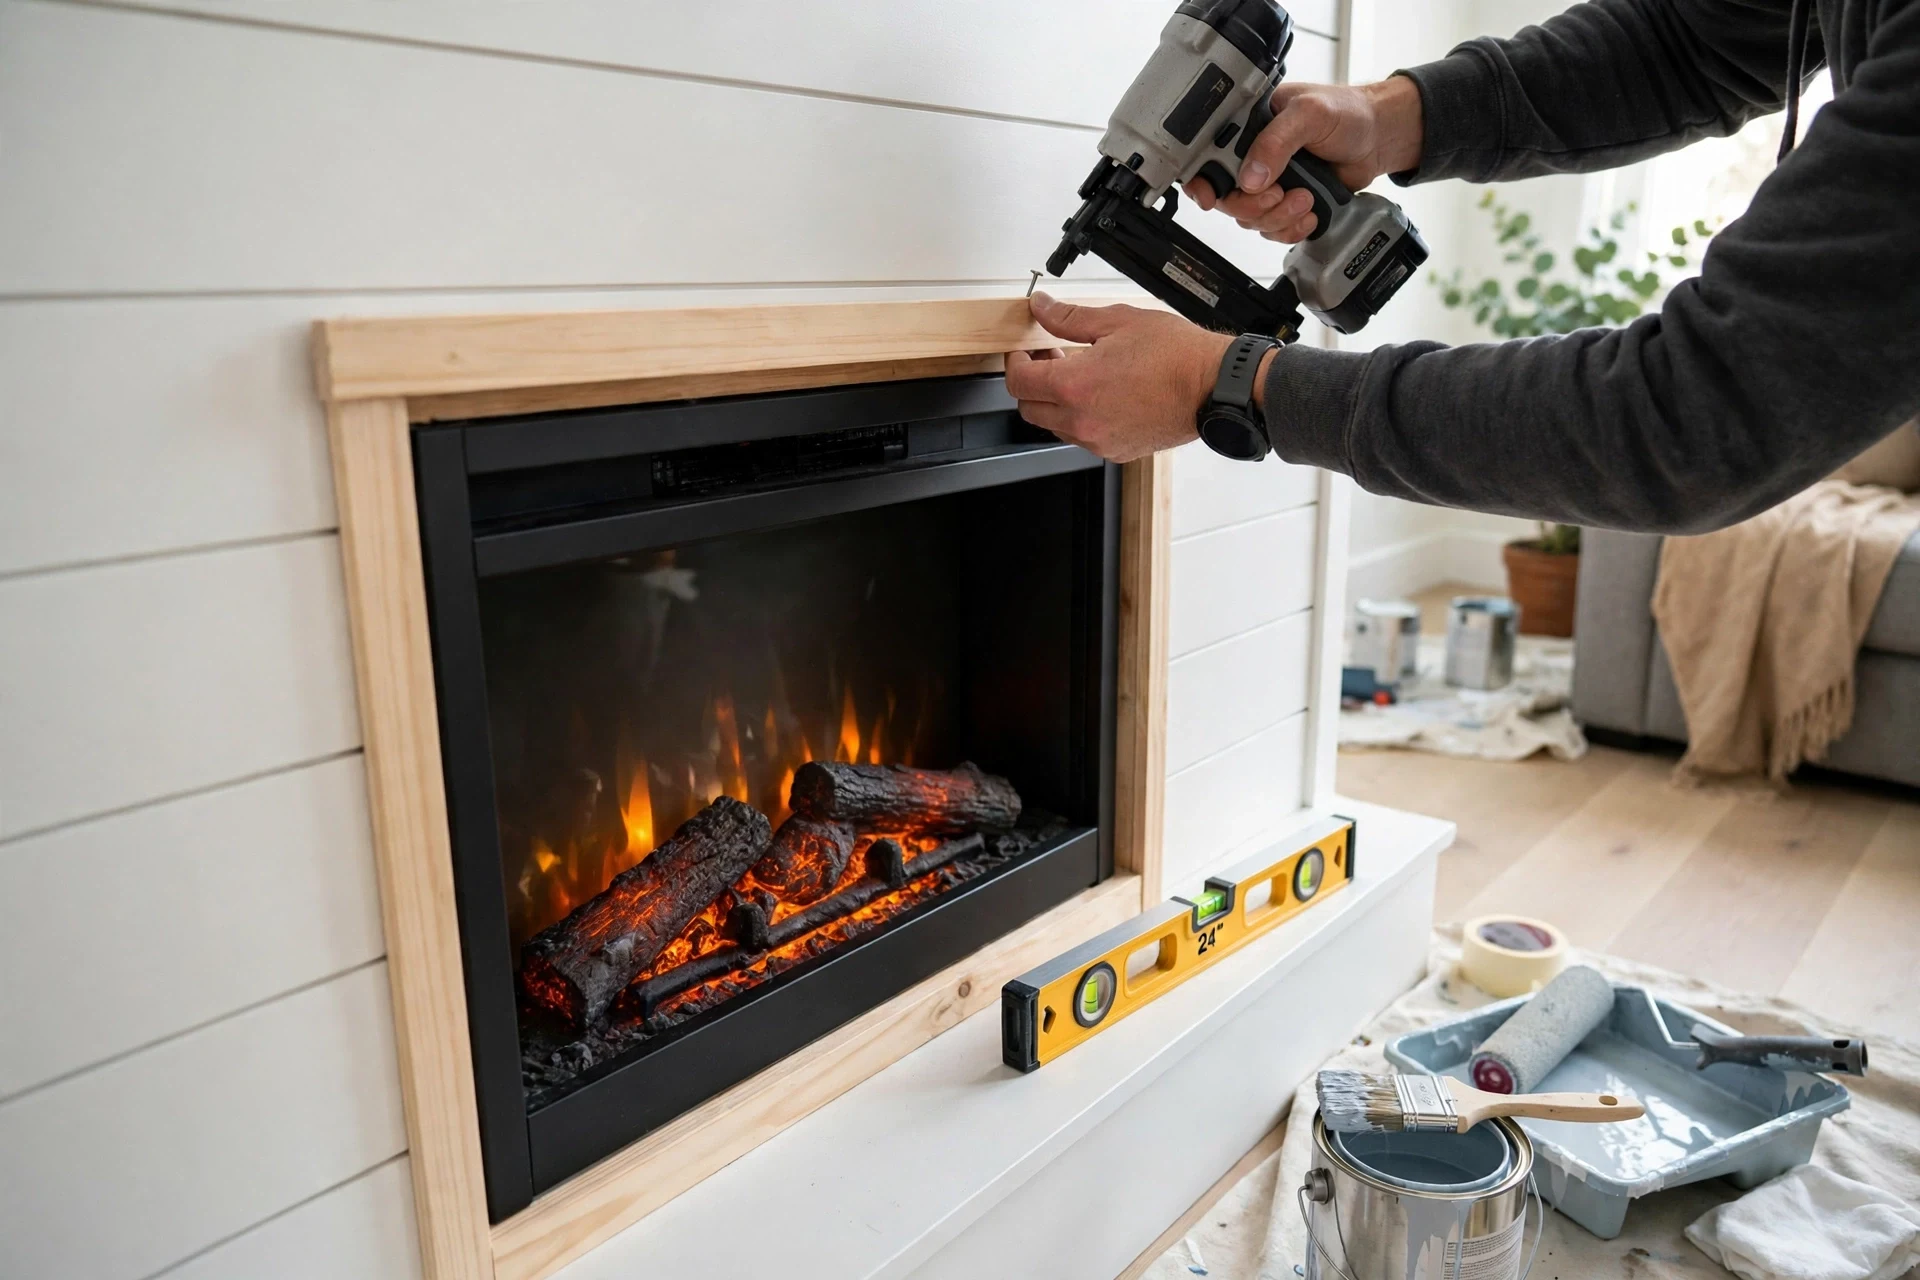
Trim is what sells the built-in look. Cut trim boards to frame the firebox opening, mitring the corners at 45 degrees where two boards meet. Dry-fit each piece before you nail or glue it, and check the corners for gaps.
If you want a mantel shelf, anchor it into wall studs, not into drywall alone. A shelf that holds candles, books, or framed photos needs real support. Keep items on the shelf clear of the heater outlet, and follow the manual’s clearance for anything placed above or beside the unit.
Caulk the joints between trim and wall with paintable caulk, then smooth the bead with a wet finger. Small gaps filled at this stage disappear under paint, while gaps left open will read as rough work from across the room.
Prime, Paint, and Finish the Wall
Prime the new drywall and the trim, then paint with two coats of interior paint. Paint the trim and the wall in the same session where possible, so the colour matches across the whole feature. Let each coat dry fully before you add the next one.
Step back and view the wall from your usual seat. Look for uneven paint, visible screw heads, or trim joints that need a second pass of caulk. Touch those spots up before you call the project done. A built-in look depends on these last details more than on any single earlier step.
Keep the area around the heater clear while you finish. Do not drape drop cloths over the unit, and do not paint over vents, grilles, or the glass front. If paint reaches the glass, let it dry, then scrape it off gently with a plastic scraper.
Test the Fireplace and Clean Up
Restore power at the breaker and test every function: flame display, flame colour and brightness settings, heater, fan, timer, and remote. Run the heater for a short period and check that warm air flows freely from the outlet and that no part of the trim feels hot beyond what the manual describes as normal.
Listen for rattles or buzzing that could mean a loose bracket or a board touching the unit. Tighten fasteners with the power off if you need to change anything. Once the unit runs quietly and heats as expected, vacuum the work area and wipe the glass with a soft cloth.
For ongoing care, follow how to clean an electric fireplace. Dust on the glass and vents dulls the flame effect, and a regular wipe keeps the built-in wall looking cared for rather than neglected.
Common mistakes to avoid
- Building the opening from a photo or a guess instead of your own firebox measurements.
- Blocking a vent or air intake with framing, insulation, or trim.
- Leaving the power cord visible down the wall, which breaks the built-in effect.
- Anchoring a mantel shelf into drywall alone, with no stud behind it.
- Skipping the level check, so the firebox sits crooked inside square trim.
- Painting over vents, grilles, or the glass front of the unit.
Pro tip: Paint a sample board and hold it against the wall in both daylight and evening light before you paint the whole feature. Wall colours shift under warm fireplace light, and a sample board lets you catch a mismatch before it covers the wall.
Heads-up: If your wall is load-bearing, do not cut studs to create a recess without professional advice. A bump-out gives you the same finished look without changing the structure of the wall.
On safety, note that electric models avoid open flames and combustion gases, but they still produce heat and draw power. If you are weighing options for a home with children or pets, read are electric fireplaces safer than space heaters before you place furniture near the unit.
Frequently Asked Questions
Can I make any electric fireplace look built-in?
Most wall-mount and recessed models can, because they are made to sit in or against a wall. Freestanding stove-style units look better with a surround or a hearth platform than with a full frame, so check your manual for the mounting options it allows.
Do I need an electrician for this project?
You need a licensed electrician if the project adds a new outlet, moves an outlet, or adds a new circuit. If a suitable outlet already sits in the right place, you can often complete the framing and finishing work yourself, with the power off during any work near wiring.
How deep should the frame be?
The frame depth should cover the firebox depth plus the thickness of your wall covering, plus the clearance your manual requires. Measure your own unit and add those numbers together, rather than copying a depth from another project.
Can I recess an electric fireplace into any wall?
No. A recess needs a cavity deep enough for the unit, free of pipes, wires, and structural members, and it must still meet the manual’s ventilation and clearance rules. When the cavity does not allow it, a bump-out gives the same finished front without opening the wall.
How do I hide the power cord?
Place the outlet inside the frame, behind or beside the firebox, so the cord stays out of sight. Do not run an ordinary power cord through a closed wall cavity unless the cord, the method, and your local code allow it — ask a licensed electrician if you are unsure.
Quick reference
- Measure the firebox first: width, height, and depth.
- Power off at the breaker before any work near wiring.
- Frame depth = firebox depth + wall covering + manual clearance.
- Stud spacing: 16 inches on centre where possible.
- Mantel: at least 12 inches above the firebox, unless the manual requires more.
- New wiring or a new outlet: hire a licensed electrician.
- Test flame, heat, fan, timer, and remote before finishing.
Conclusion
A built-in look comes from careful measuring, a level frame, hidden wiring, and neat trim — not from an expensive unit. Take your time on the first two steps, keep the manual open while you build, and get professional help for any electrical work. Done that way, the fireplace will look like part of the wall, and it will stay safe to use for years.